Once you have set up your Test Assets and Template Defaults, it’s time to dive into thumbnail designing and creation with WPThumbify. The Create Template section is where the magic happens, allowing you to design stunning thumbnails that capture your audience’s attention.
Prebuilt Templates
When you first click the Create Template section, you’ll notice that WPThumbify comes with three prebuilt thumbnail templates.
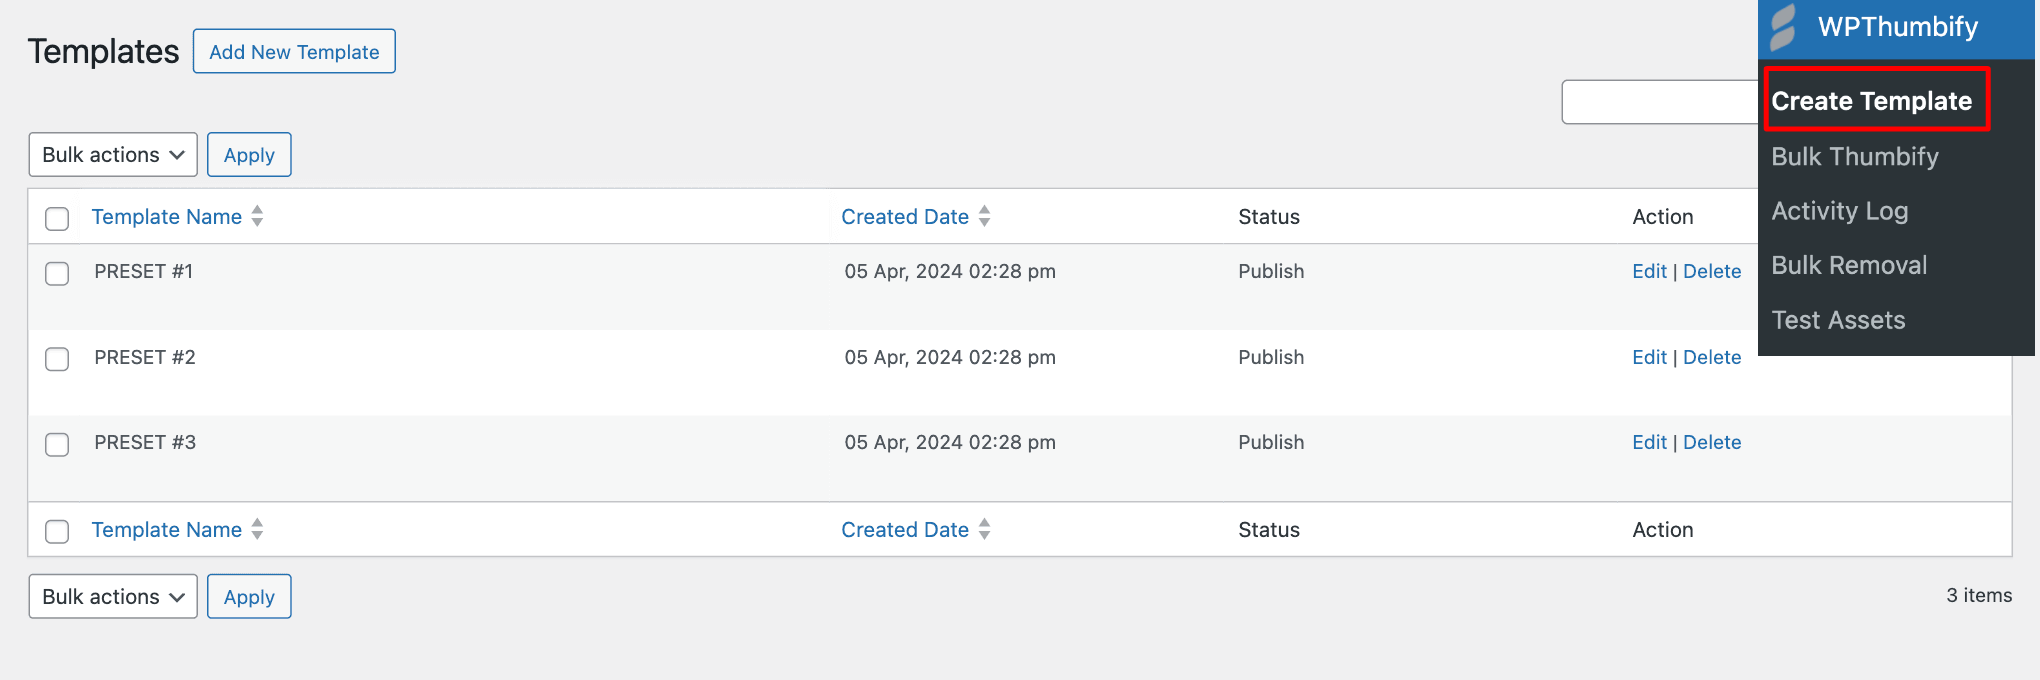
These templates serve as a starting point, and you have the flexibility to either edit them to suit your needs or use them as-is for your posts.
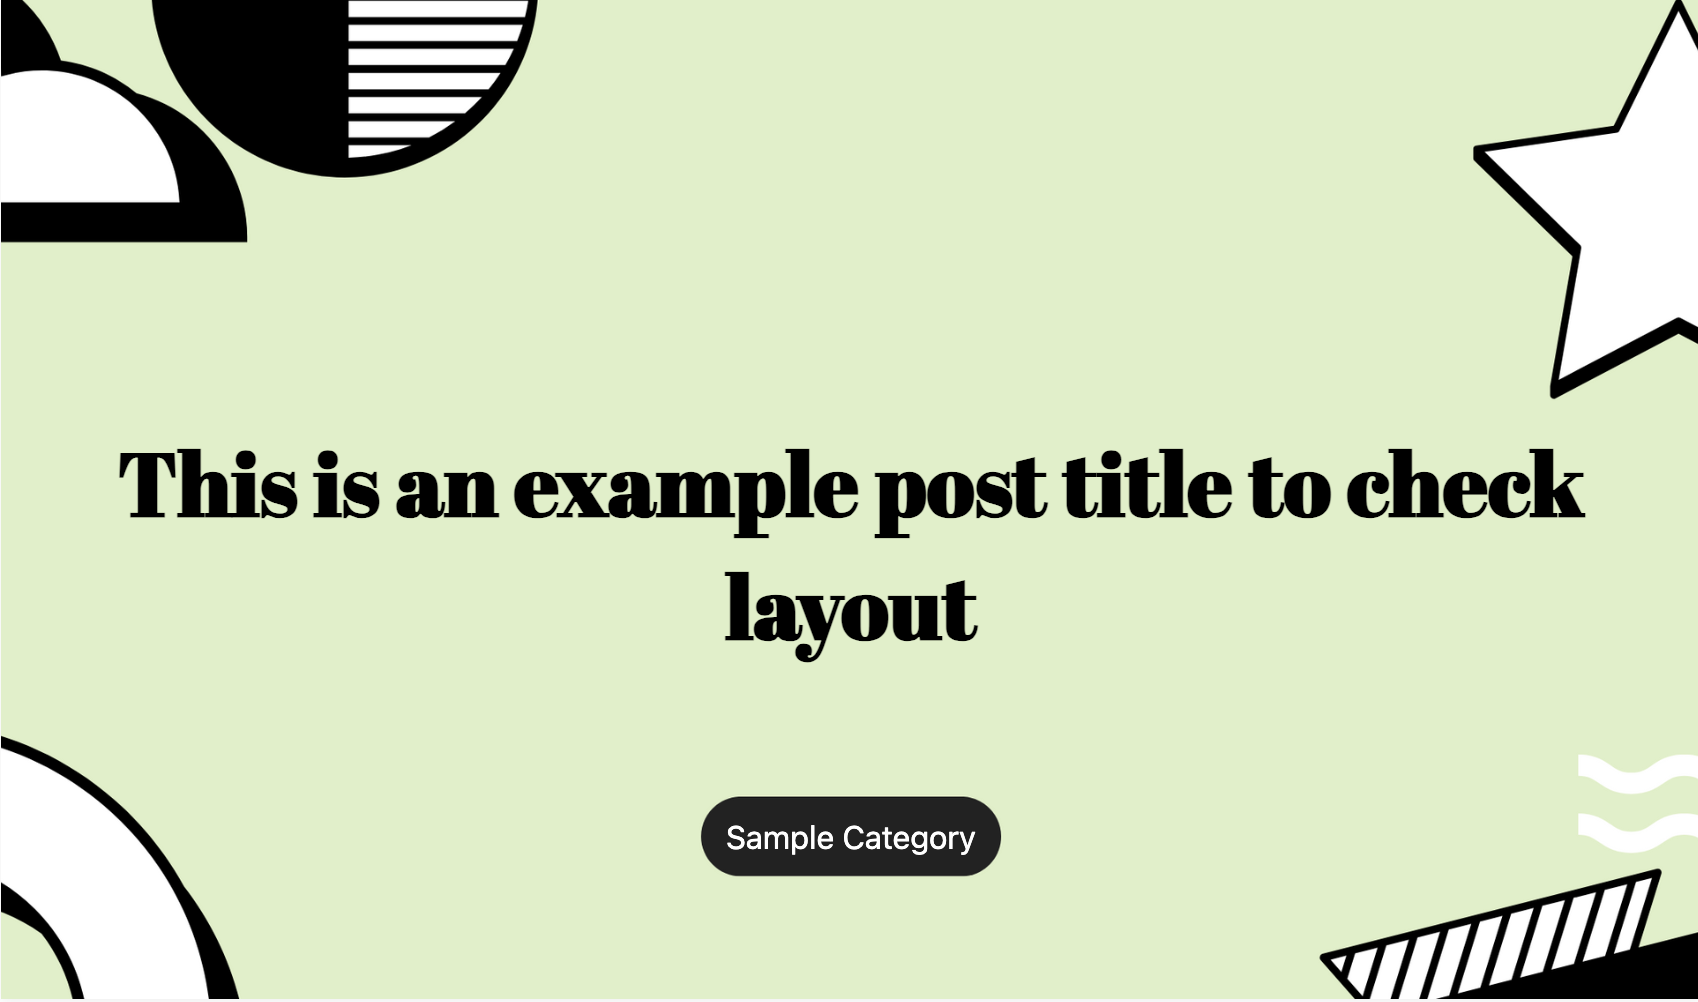
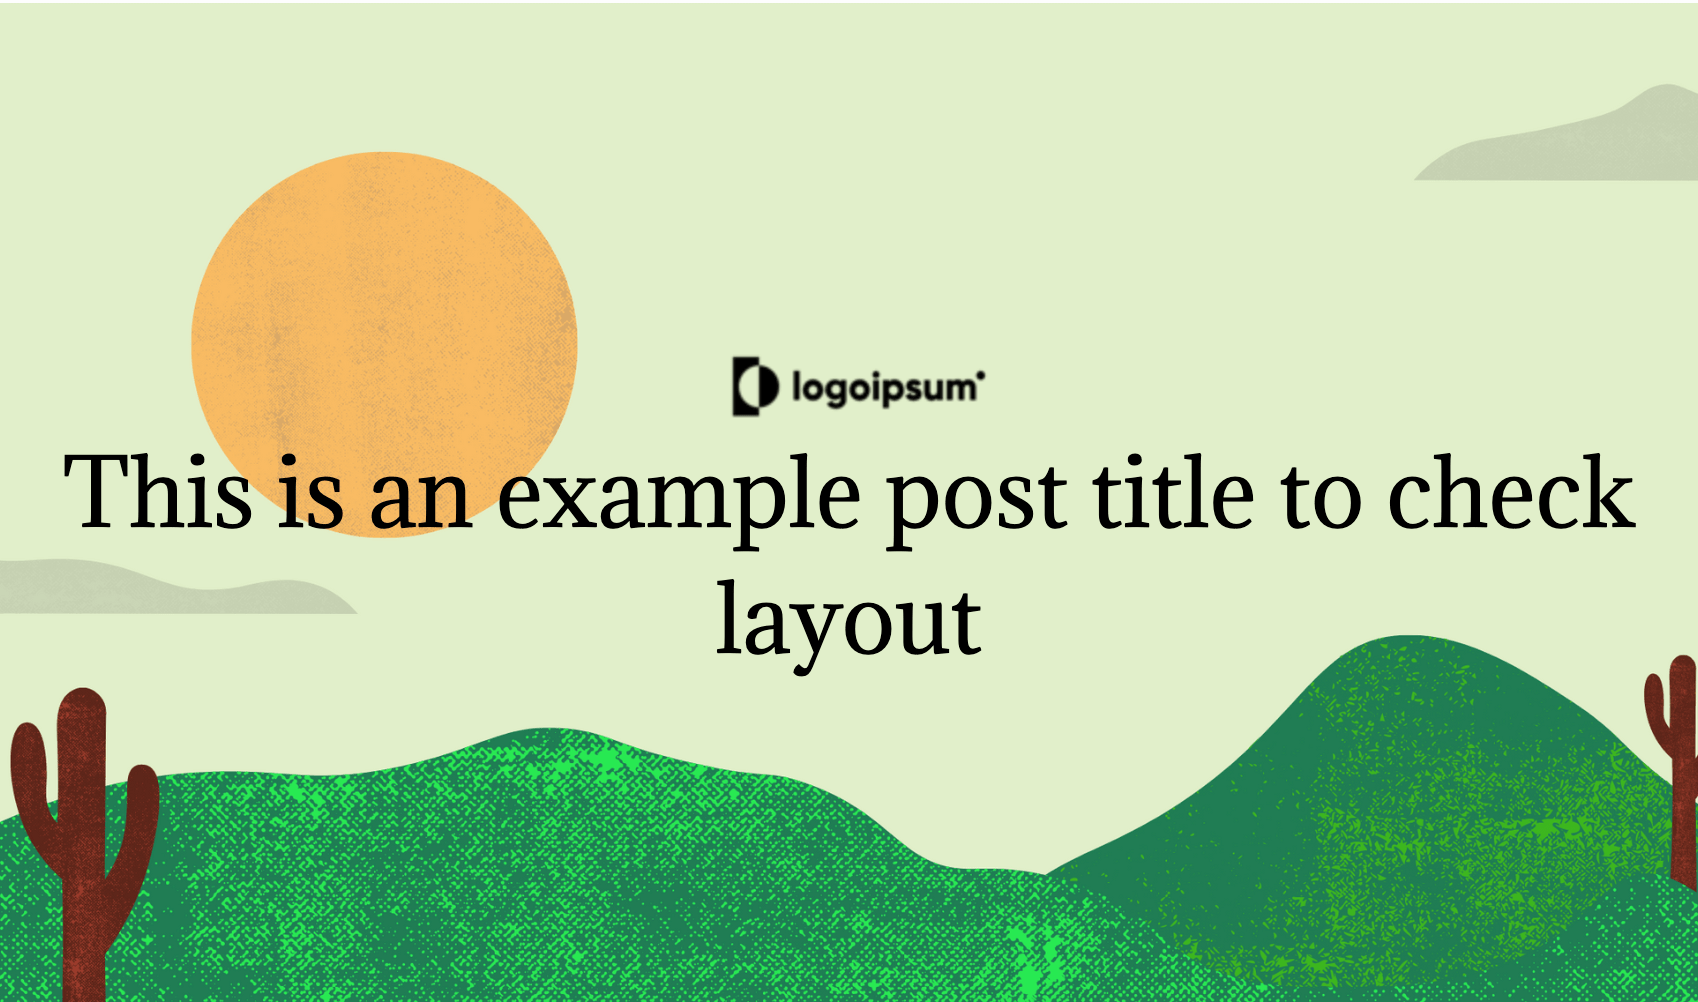
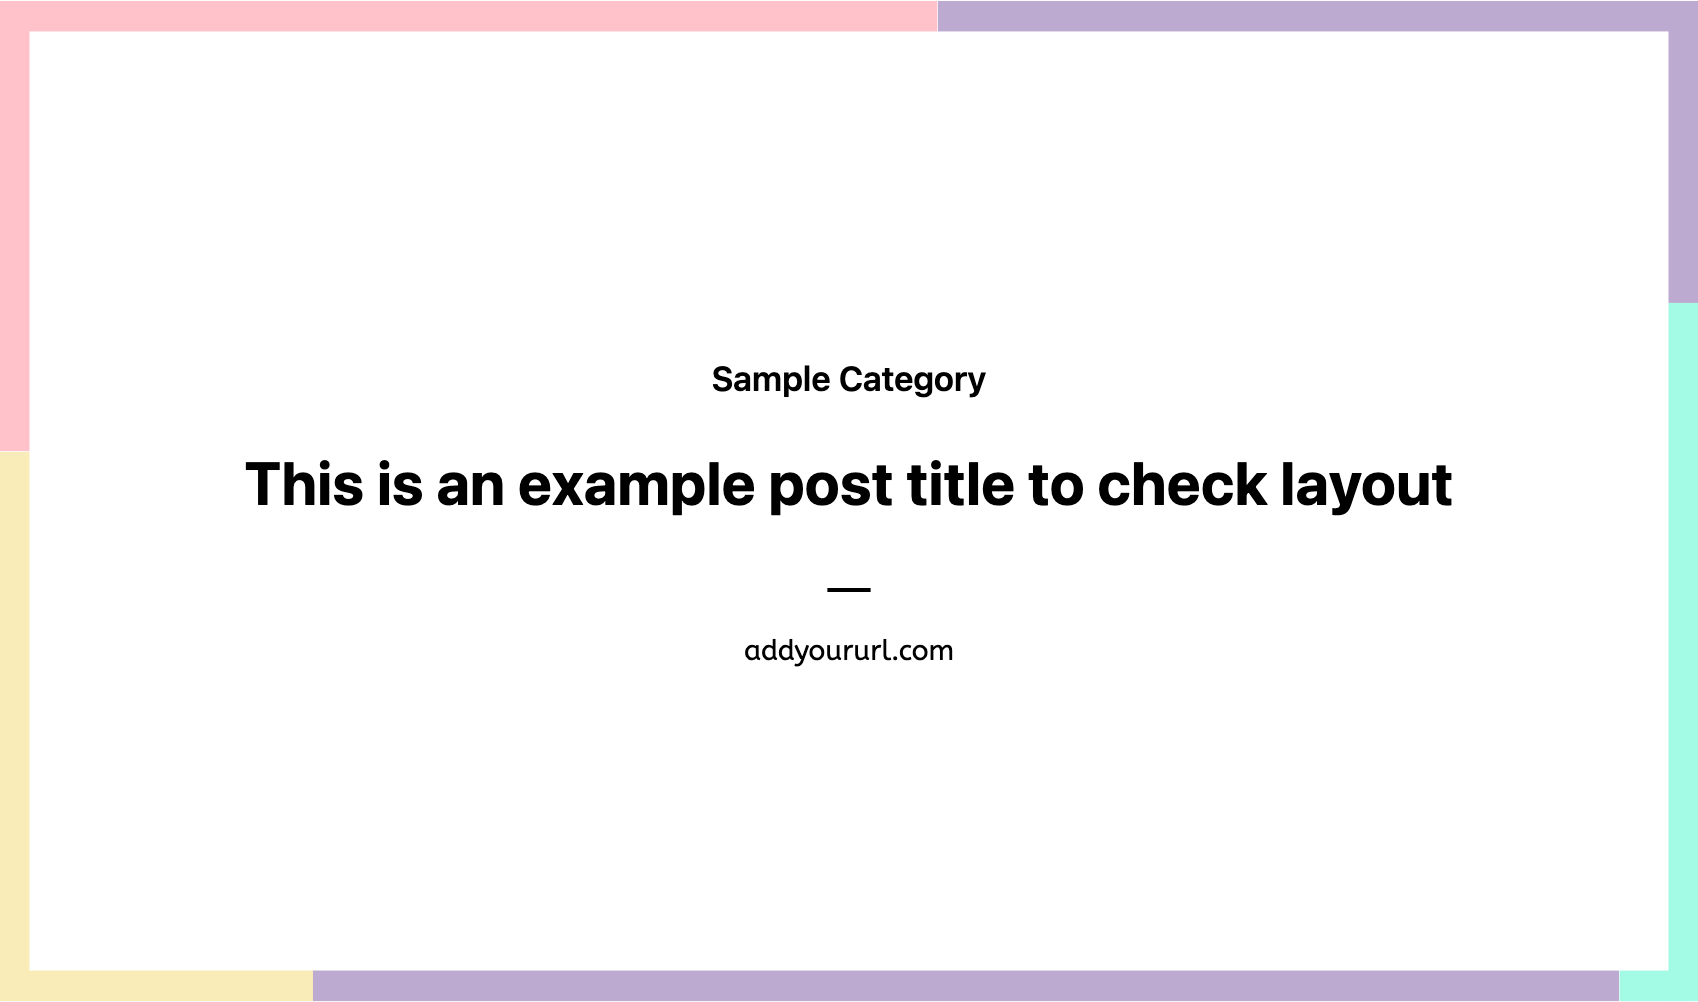
The prebuilt templates are listed in a table format, displaying the following information:
- Template Name
- Created Date
- Status
- Action
You can easily identify each template by its name, see when it was created, and check its current status (published or draft).
The Bulk Action column provides quick links to view, edit, or delete each template.
Creating a New Template
If you want to create a new template from scratch, simply click on the Add New Template button.
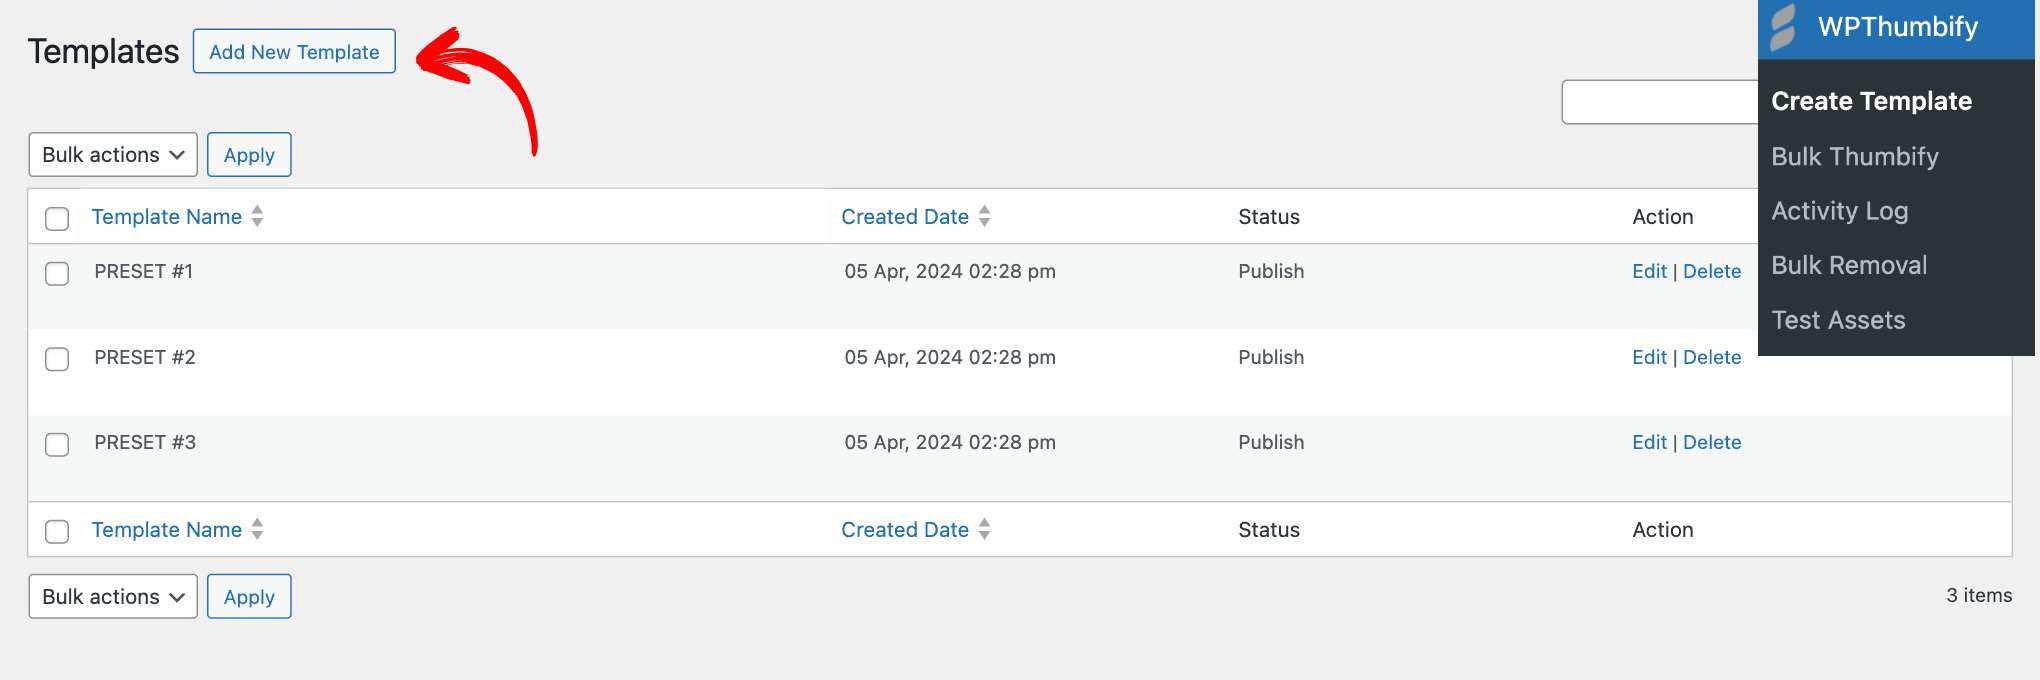
This will take you to the template design interface, where you can unleash your creativity and build a custom thumbnail layout.
Design Settings
WPThumbify offers a wide range of design settings to help you create visually appealing thumbnails. Let’s explore each setting in detail:
Website URL
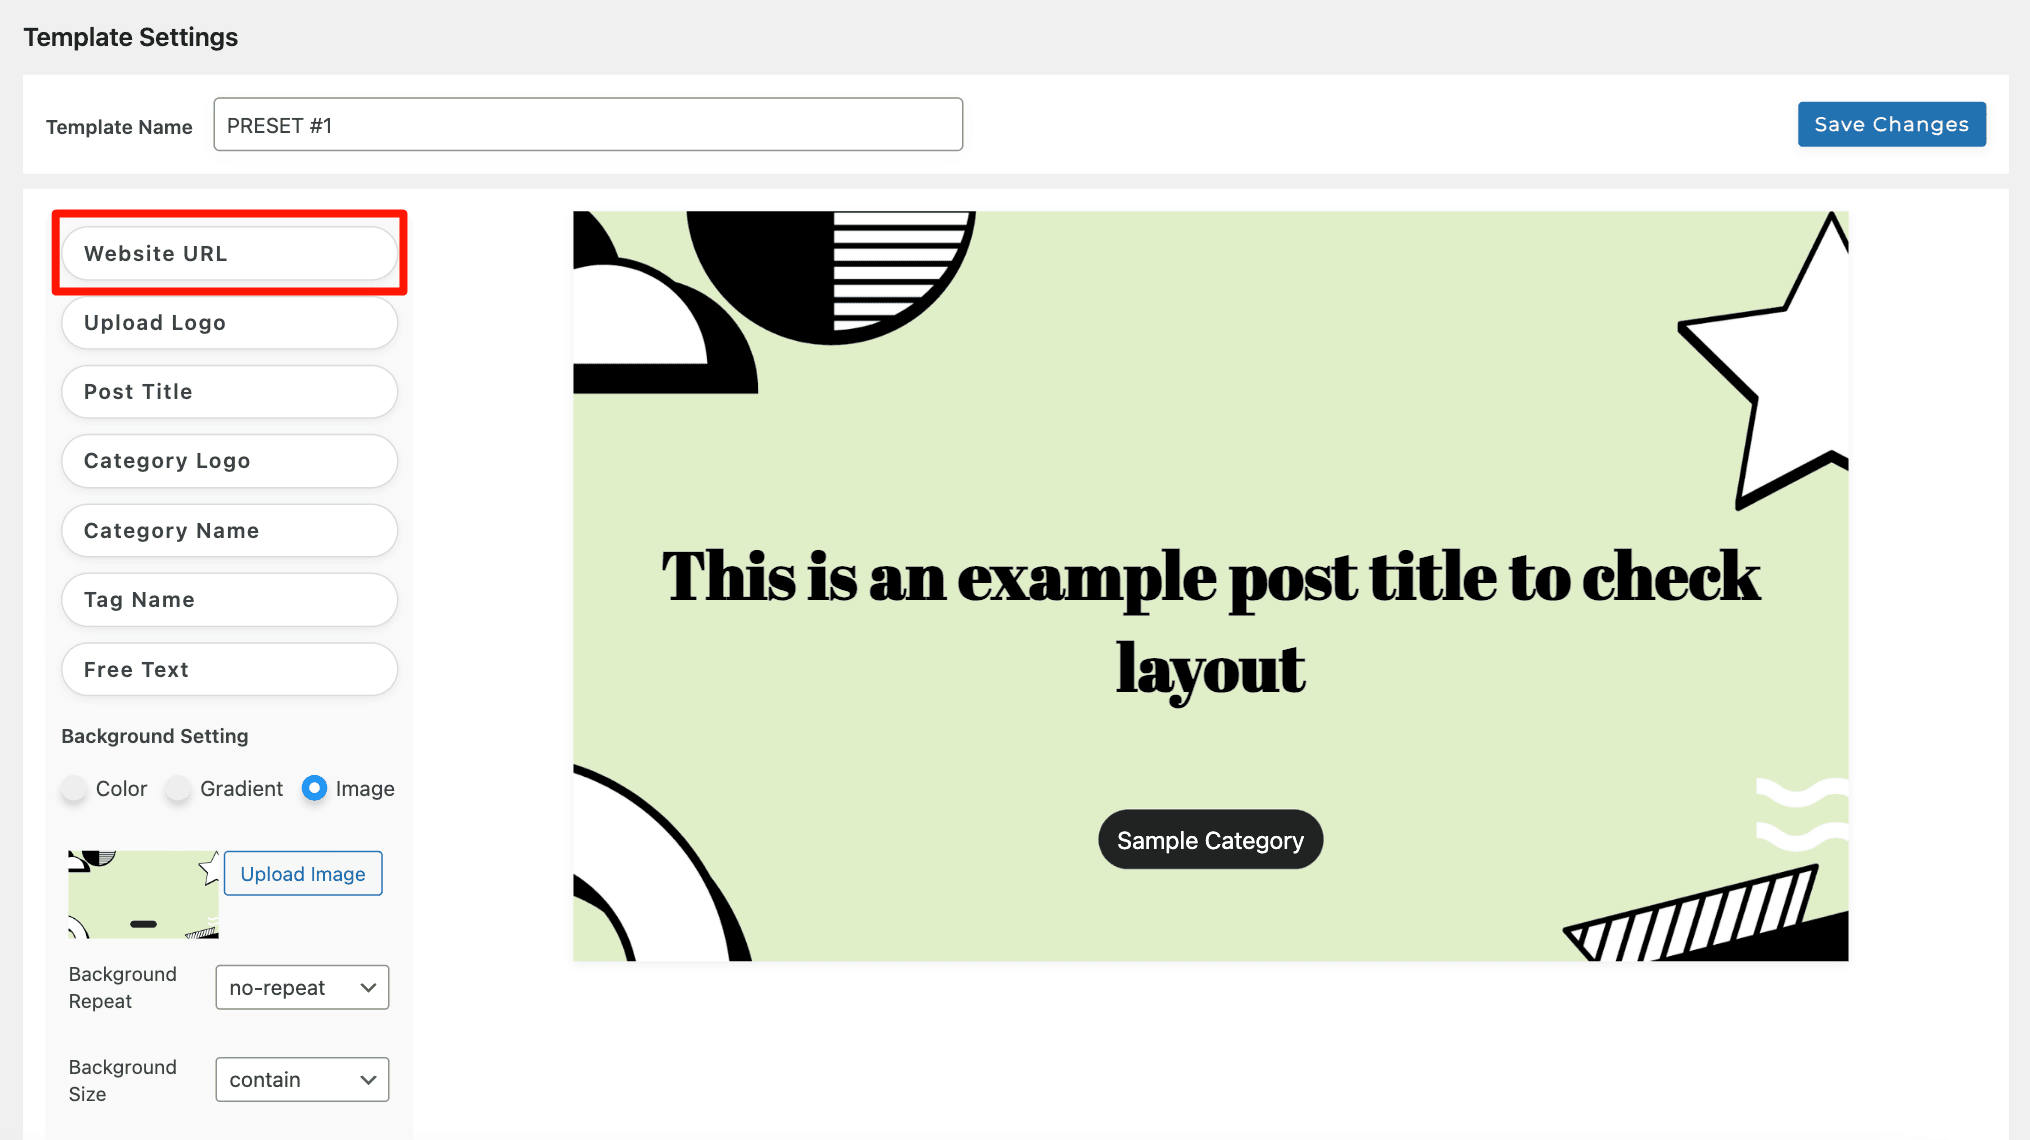
The Website URL setting allows you to display your URL on the thumbnail. By default, it fetches the URL of your WordPress site, but you can customize it if needed. It is best to choose the Free Text option if you don’t want HTTPs or other fluffs in your URLs.
Upload Logo
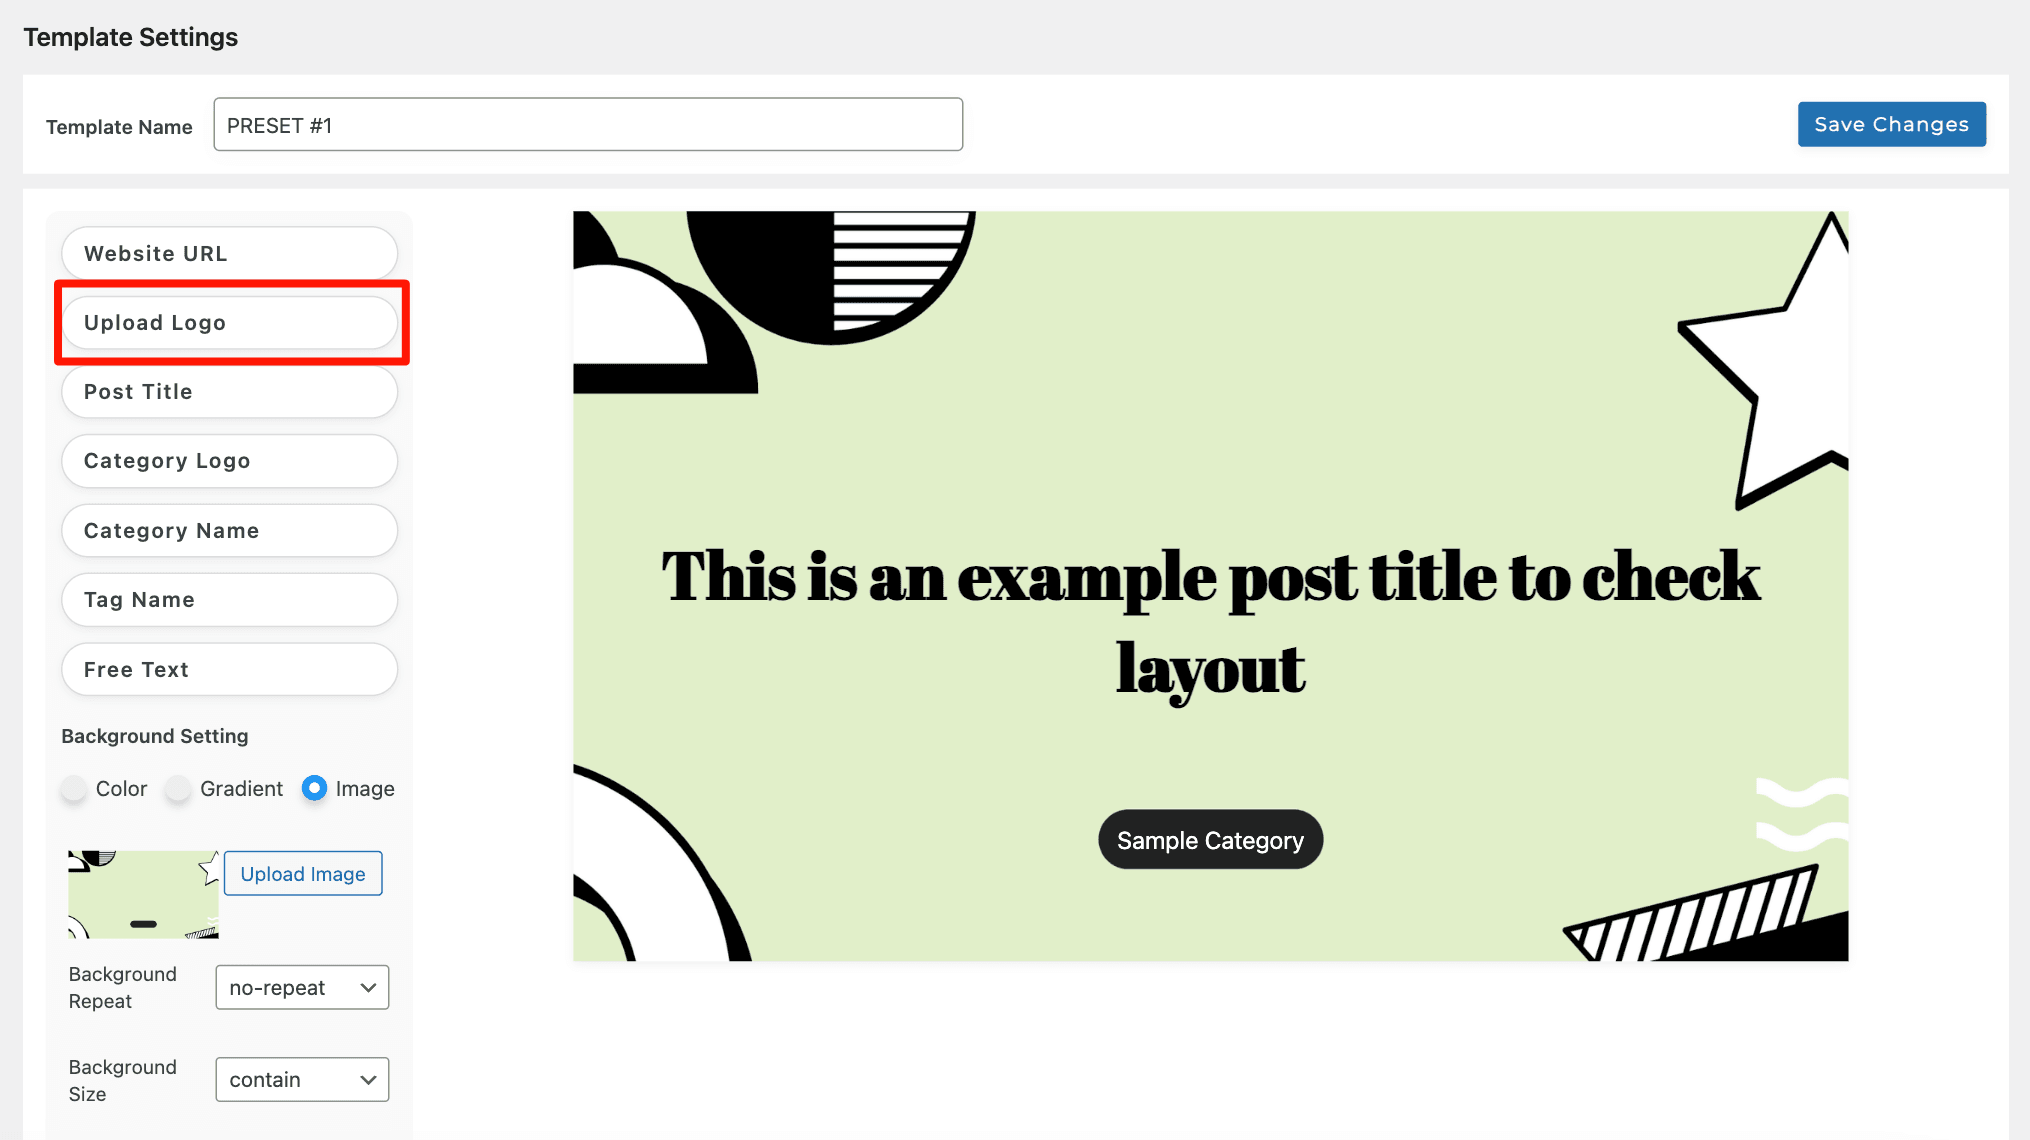
Make your thumbnails stand out by adding your logo. Click the Upload Logo button to select an image file from your computer.
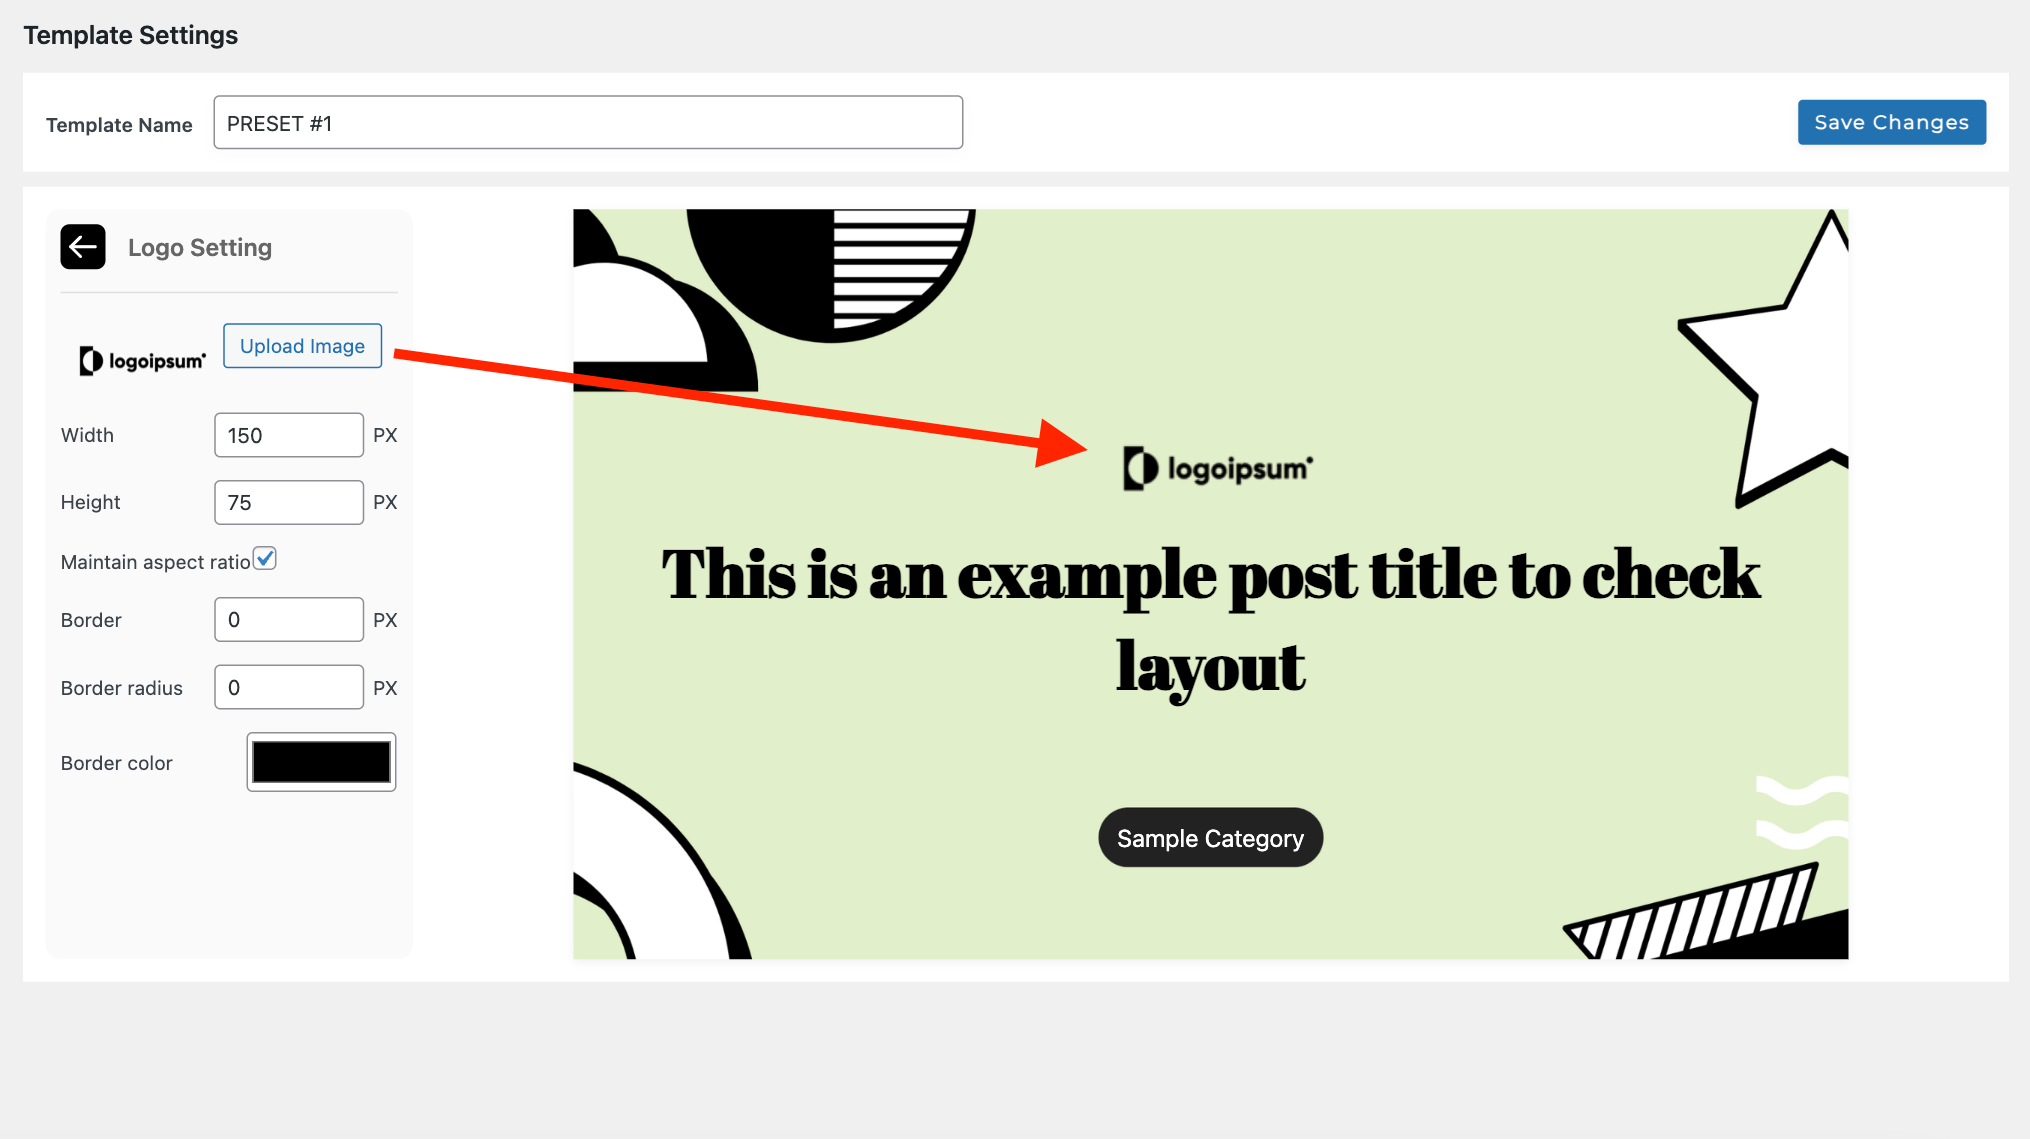
Once done, you’ll see a default logoipsum image which you should change and add your website logo.
Note: It’s important to note that for optimal results, create a logo with the same width and height as specified in the Logo settings. If the dimensions don’t match, the logo may appear shrunk or distorted.
After uploading a Logo, you can customize its position, width, and height, maintain its aspect ratio, and add a border, border color, and border-radius.
Post Title
The Post Title element dynamically displays the title of your blog post on the thumbnail. You can customize its appearance using the following settings:
- Font Size: Specify the size of the title text in pixels.
- Font Family: Choose the font family for the title text.
- Font Weight: Select the weight (thickness) of the title font.
- Color: Pick a color for the title text using the color picker.
- Letter Case: Convert the title text to uppercase, lowercase, or keep it as-is.
- Text Align: Align the title text to the left, center, or right.
- Strictly Apply: Enable this option to strictly enforce the text alignment.
- Text Style: Choose between normal, italic, or underline styles for the title text.
- Text Limit: Set a character limit for the title. If the title exceeds this limit, it will be truncated with an ellipsis (…).
Category Logo
WPThumbify offers a unique feature that allows you to assign a specific logo to each post category.
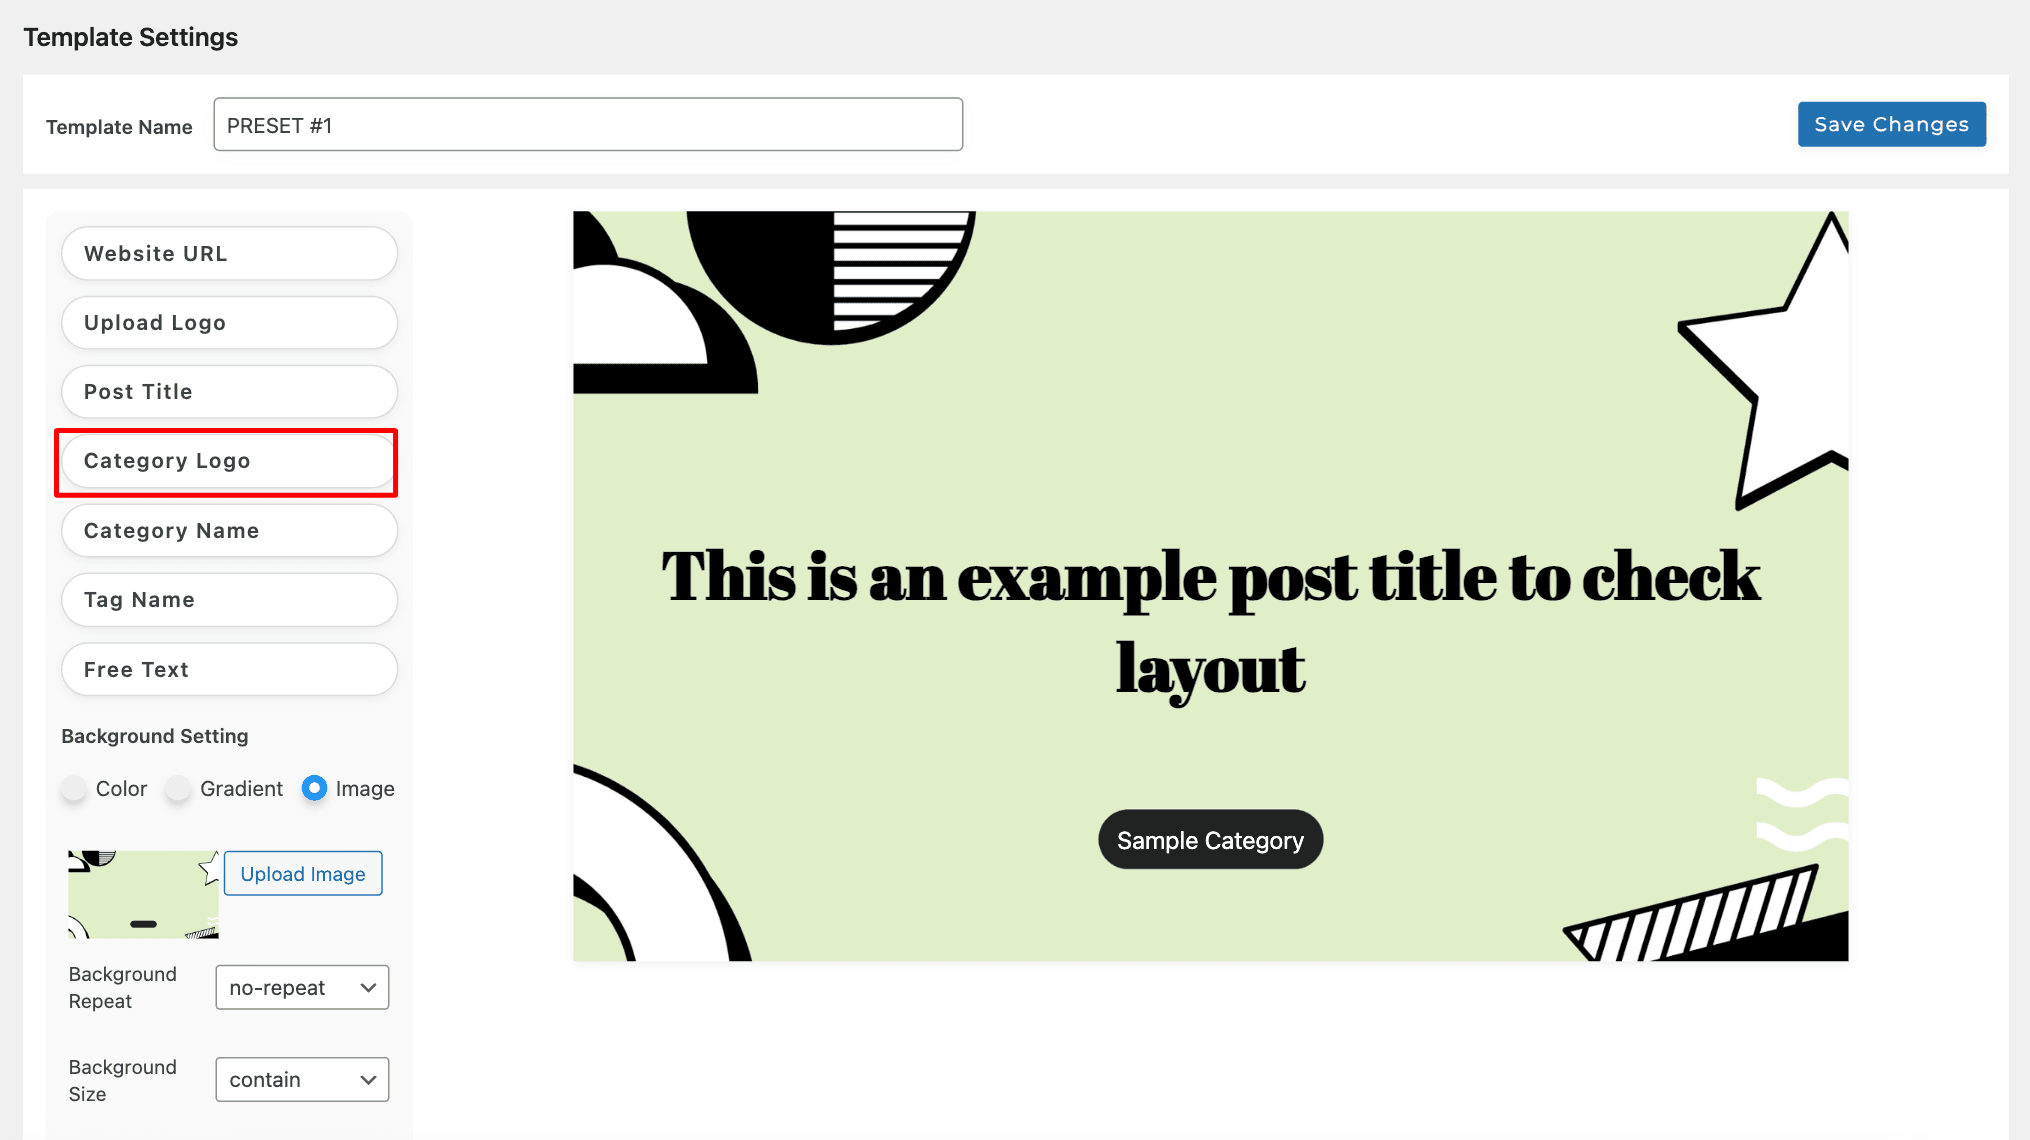
This is particularly useful for tech blogs, food blogs, or any website that wants to differentiate between categories visually.
To add a category logo, navigate to Posts > Categories, select the desired category, and click on the Add Category Image option at the bottom to upload the logo image.
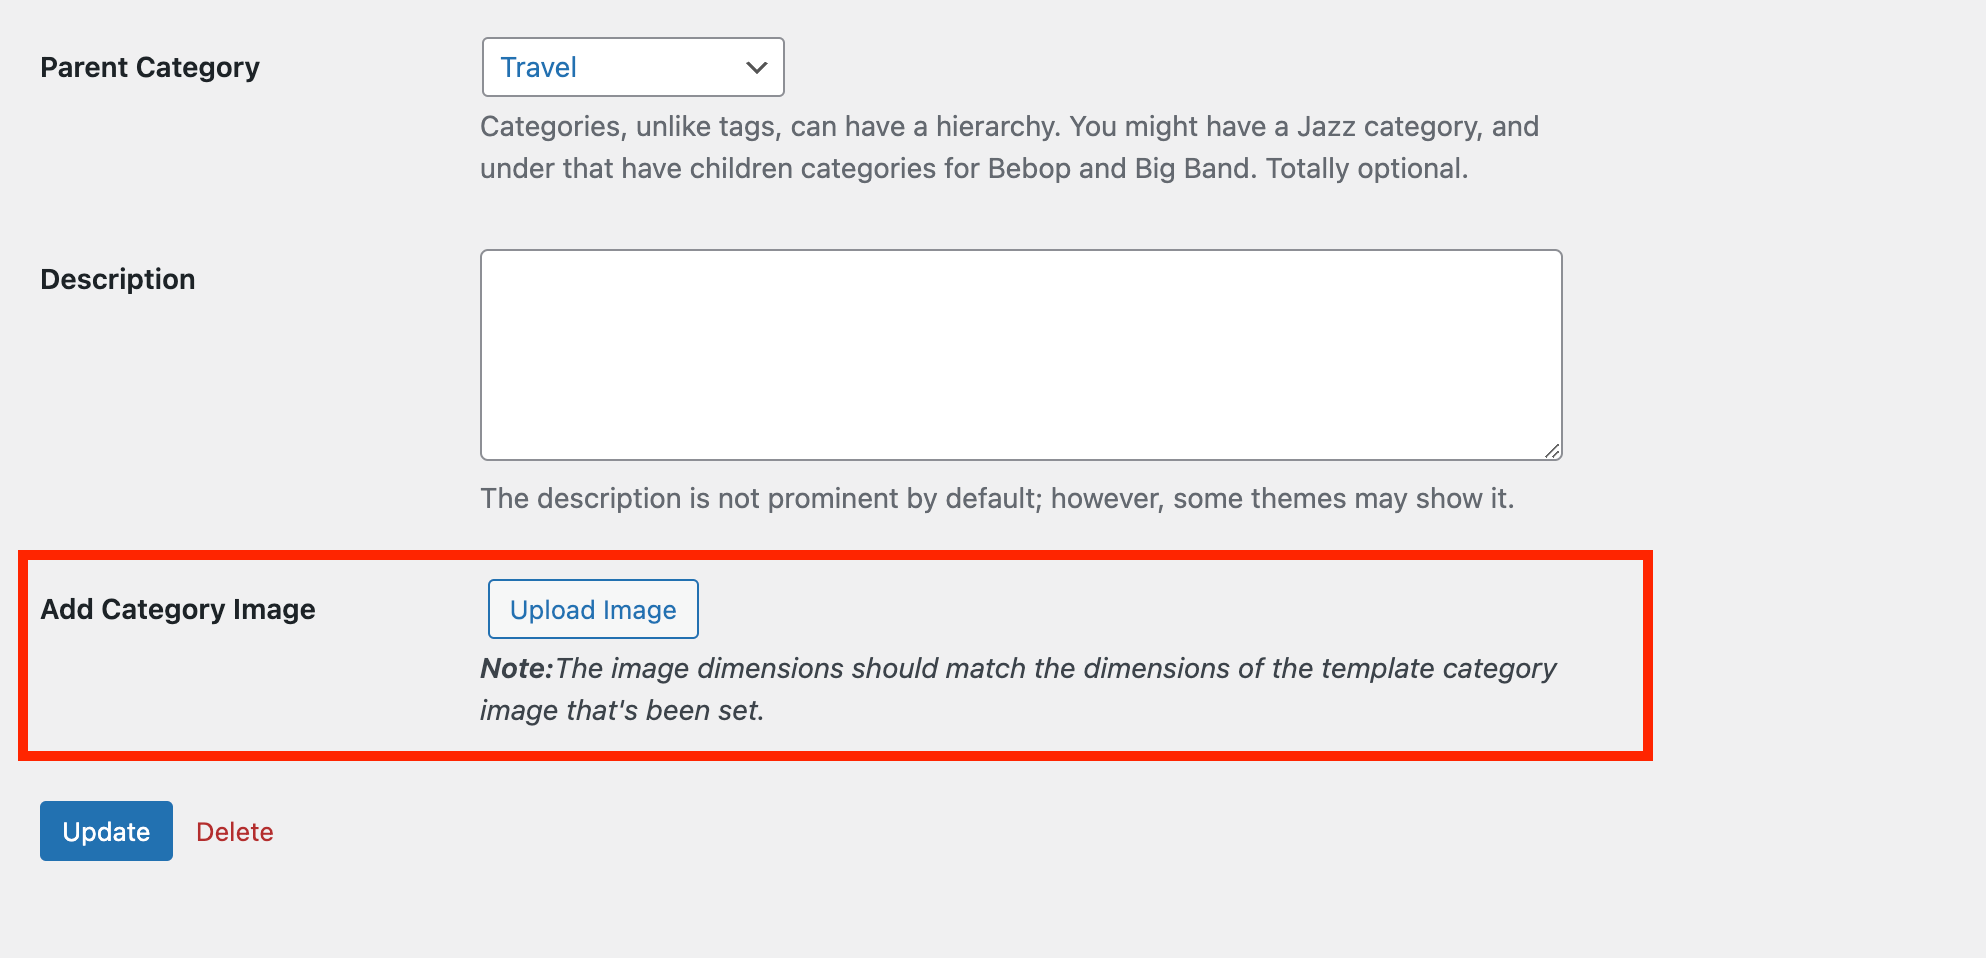
The uploaded logo will be automatically applied to the thumbnail based on the post’s category.
Category Logo settings include:
- Width: Specify the width of the category logo in pixels.
- Height: Set the height of the category logo in pixels.
- Maintain aspect ratio: Enable this option to preserve the proportions of the logo image.
- Border: Add a border around the category logo by specifying the border width in pixels.
- Border radius: Apply rounded corners to the category logo by specifying the border radius in pixels.
- Border color: Choose the color of the border using the color picker.
Note: If a post belongs to multiple categories, WPThumbify will first select the category that appears alphabetically and then apply its corresponding logo to the thumbnail.
Category Name
In addition to the category logo, you can also display the name of the post’s category on the thumbnail.
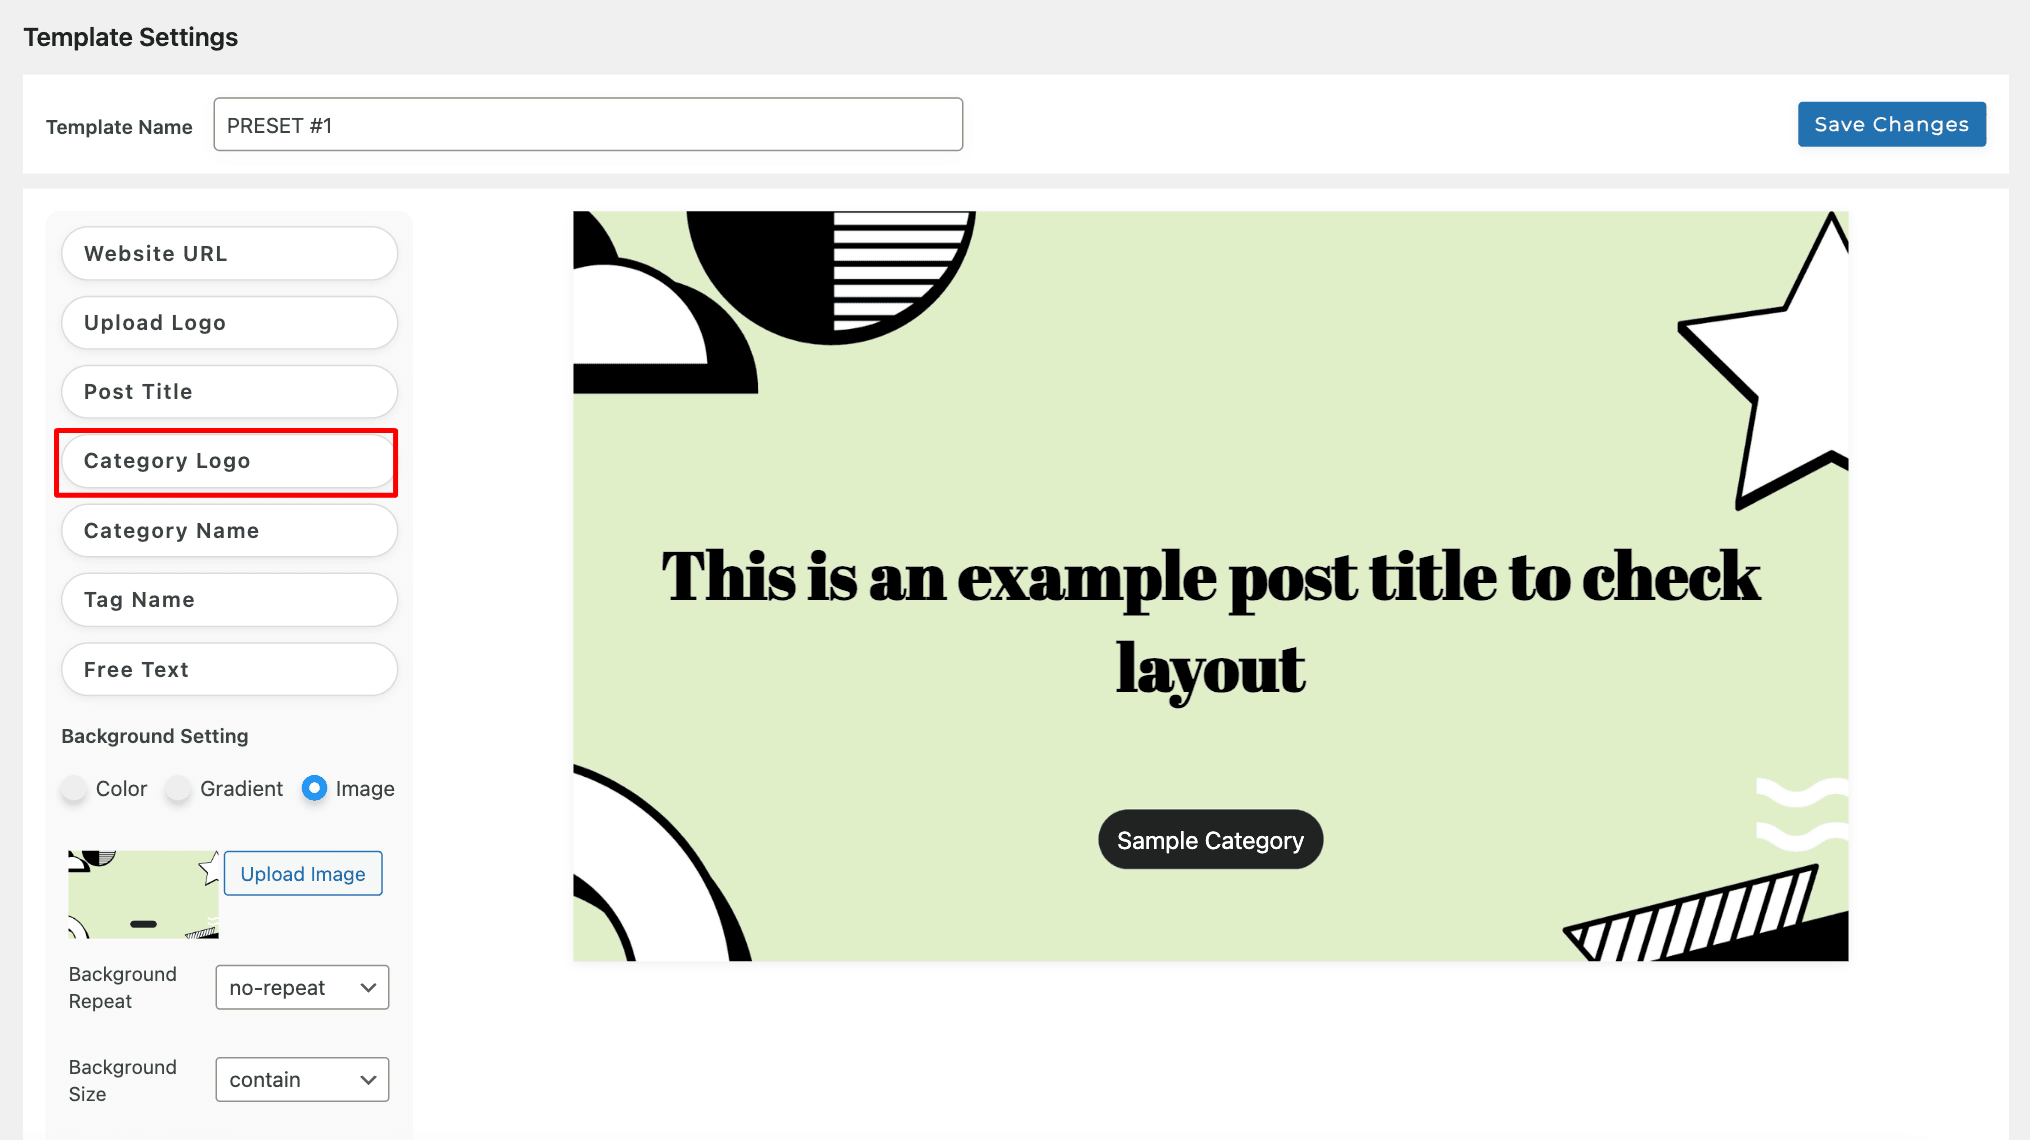
The Category Name element dynamically fetches the category name and allows you to customize its appearance using settings similar to the Post Title element.
Tag Name
WPThumbify enables you to showcase the tags associated with your post on the thumbnail.
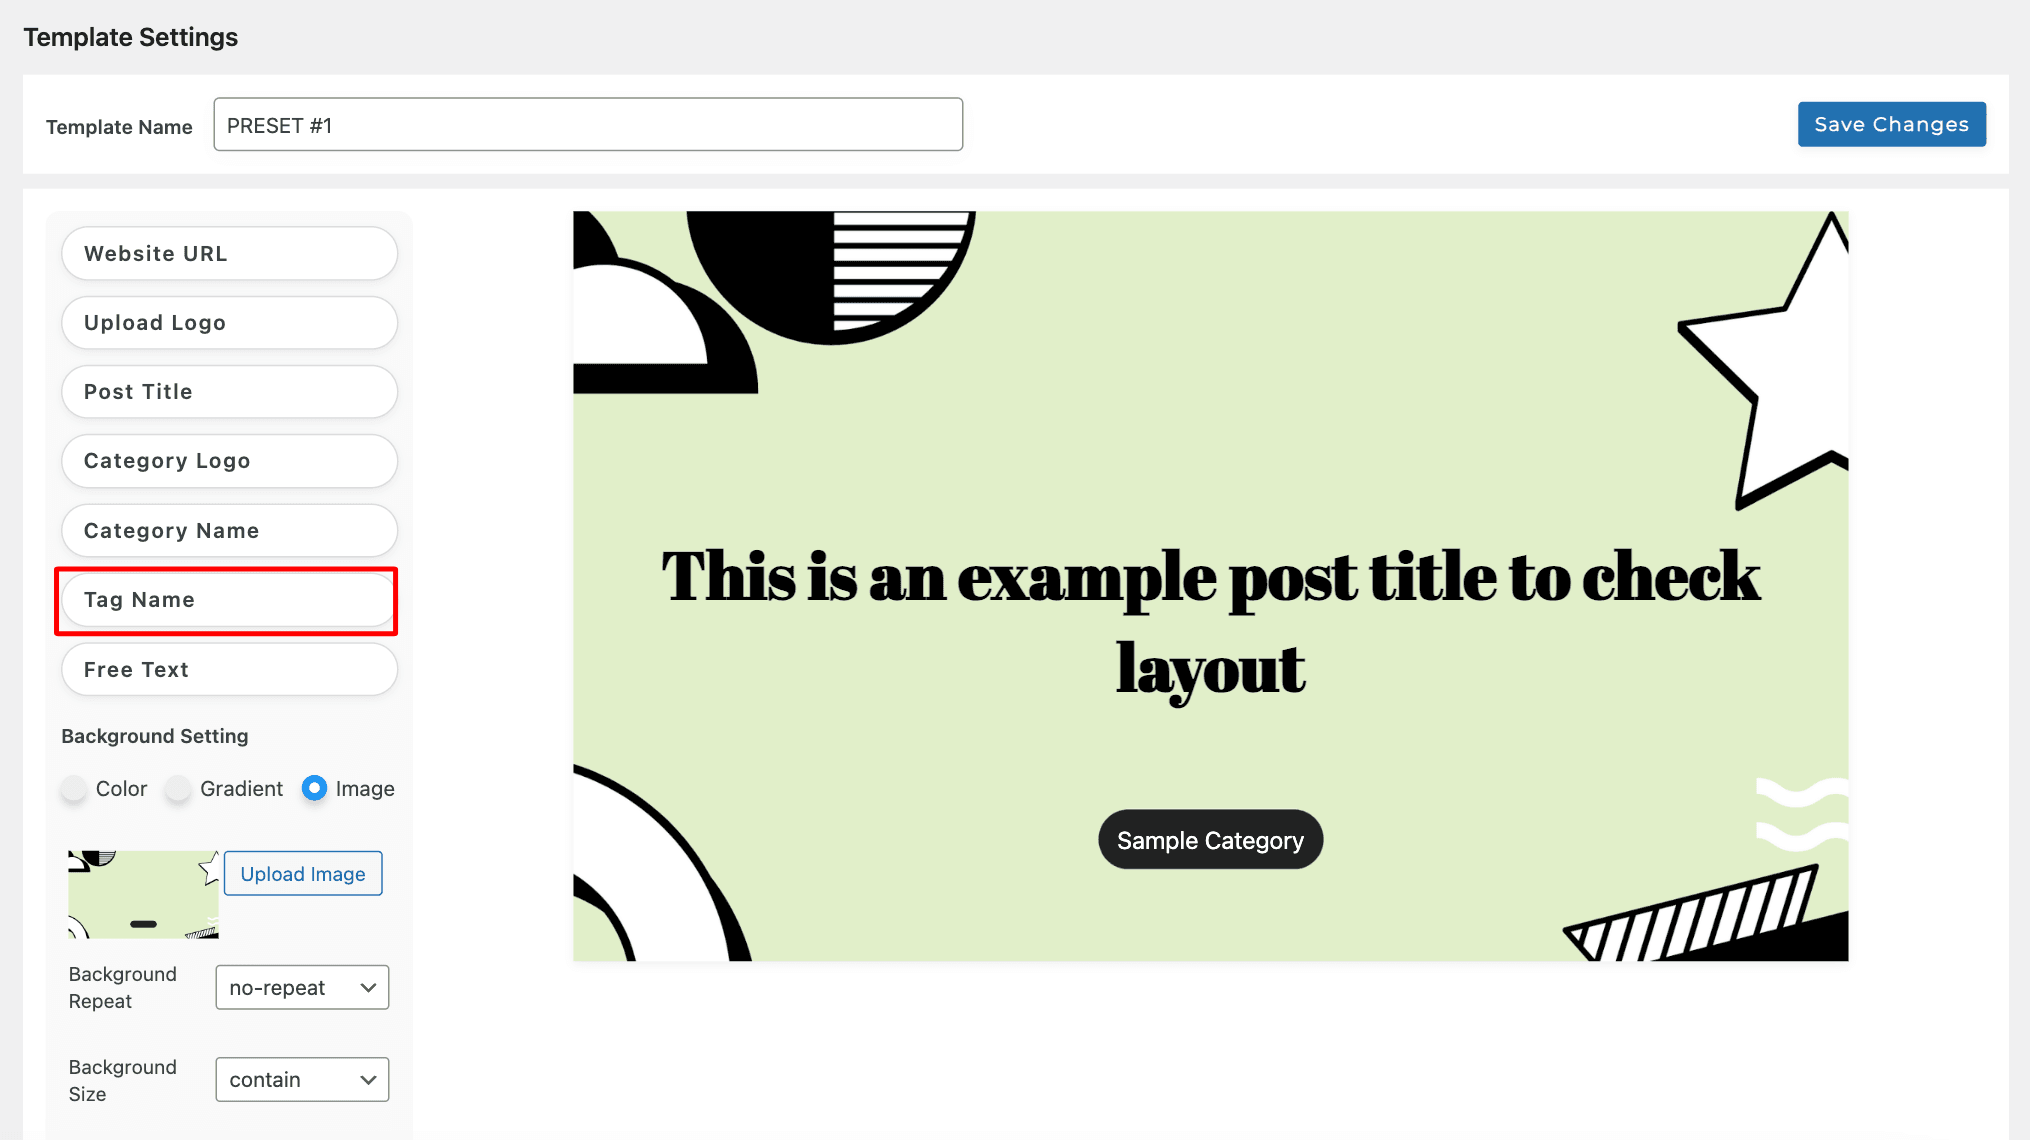
Note: If a post has multiple tags, the plugin will select the tag that appears first alphabetically.
You can style the Tag Name element using the same settings as the Post Title and Category Name elements.
Free Text
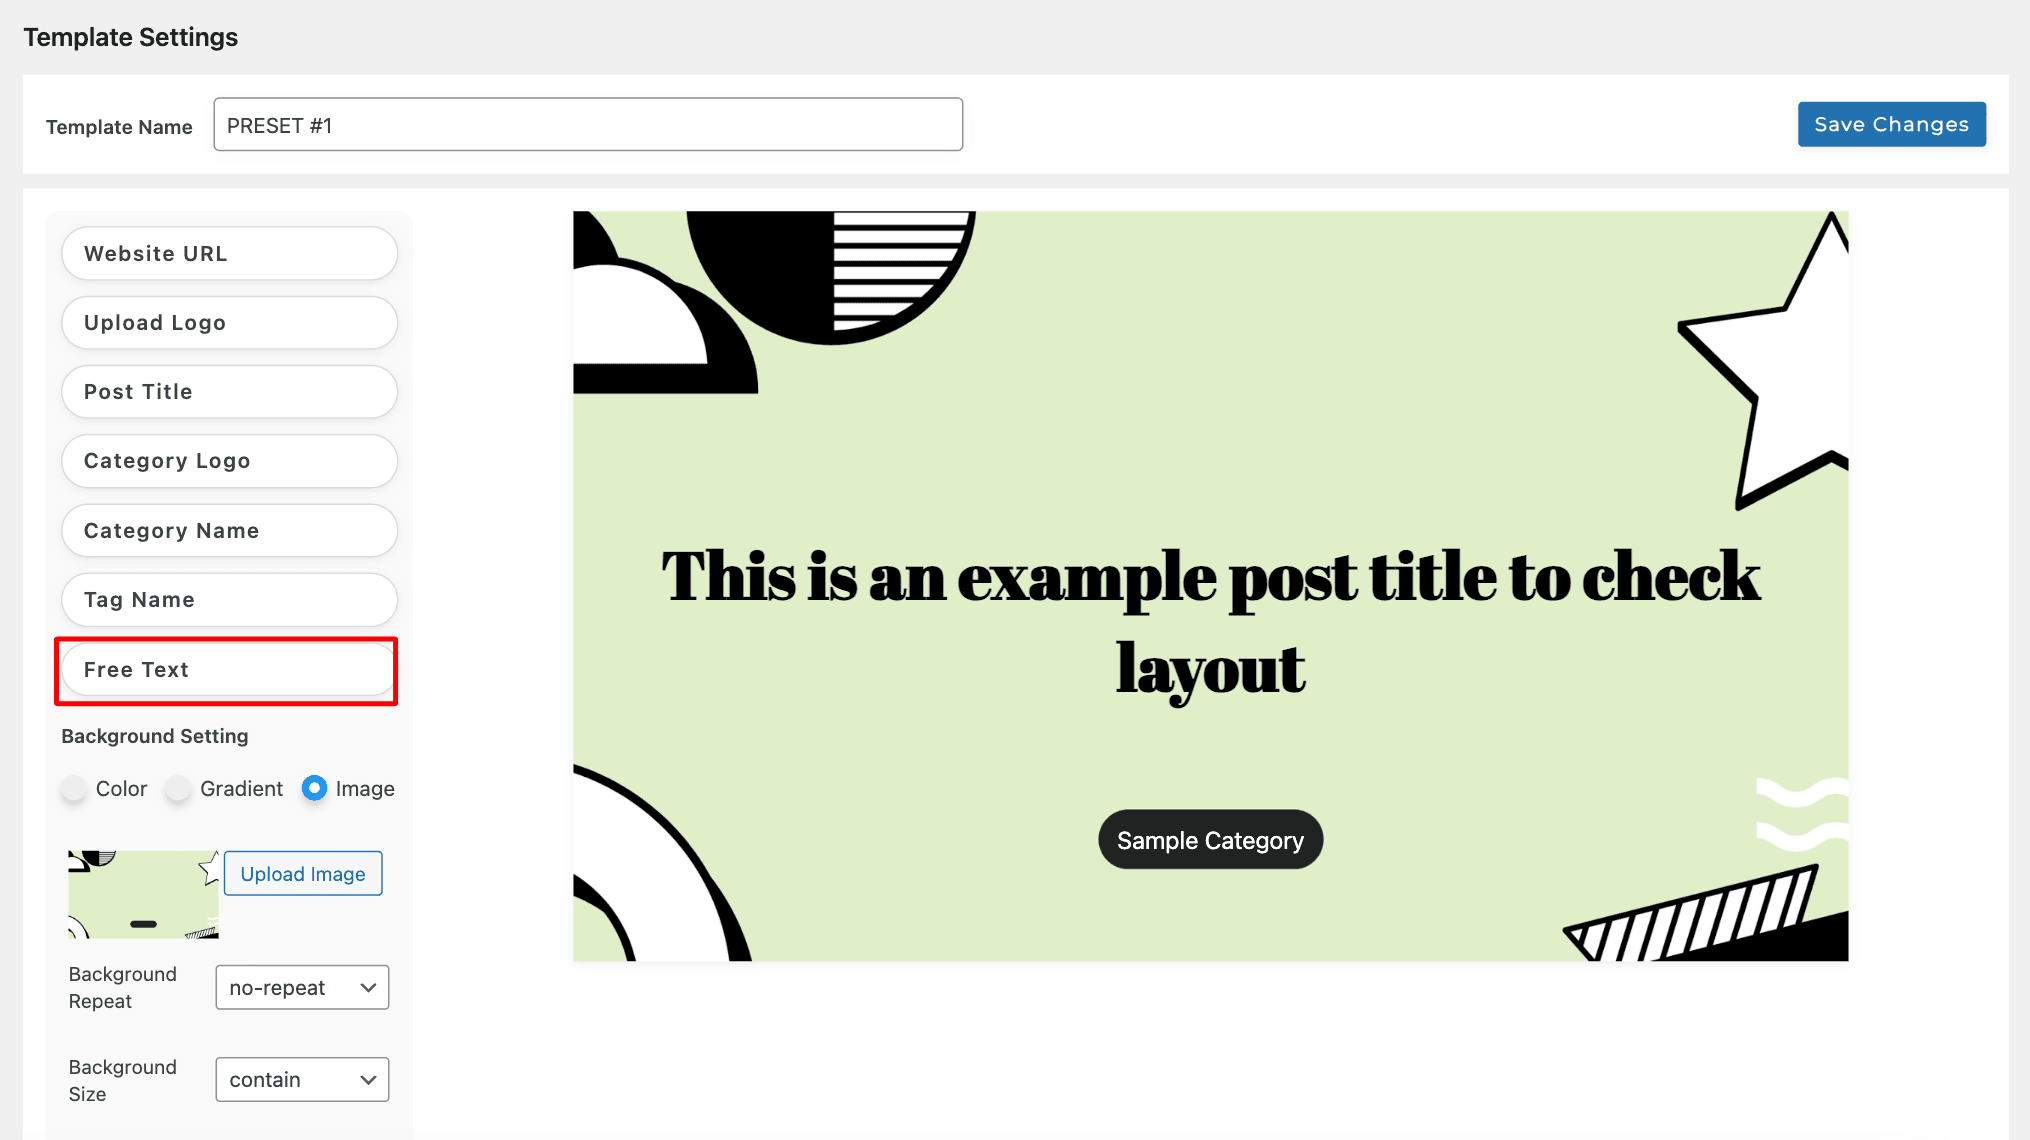
The Free Text element allows you to add custom text to your thumbnails.
This can be a URL, a message, or any other text you want to display consistently across all thumbnails.
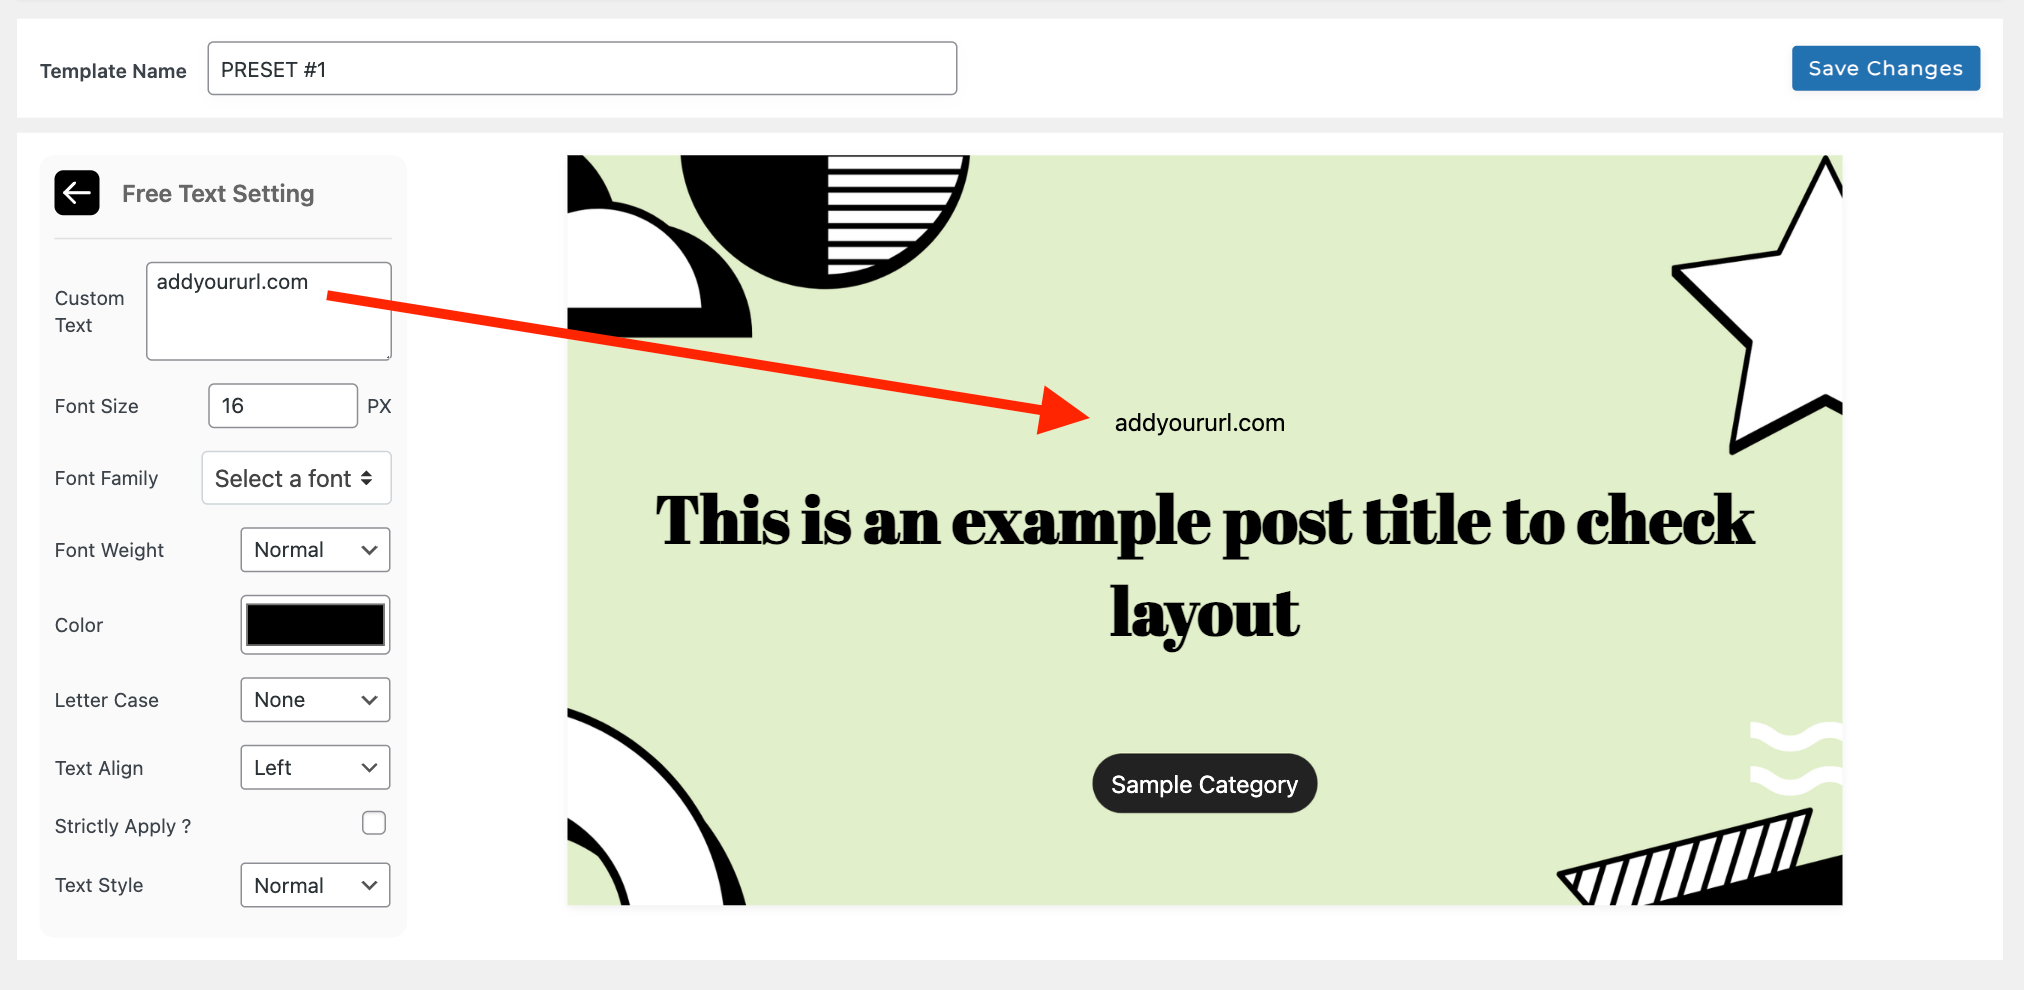
Customize the appearance of the Free Text element using the same settings as the other text elements.
Background Setting
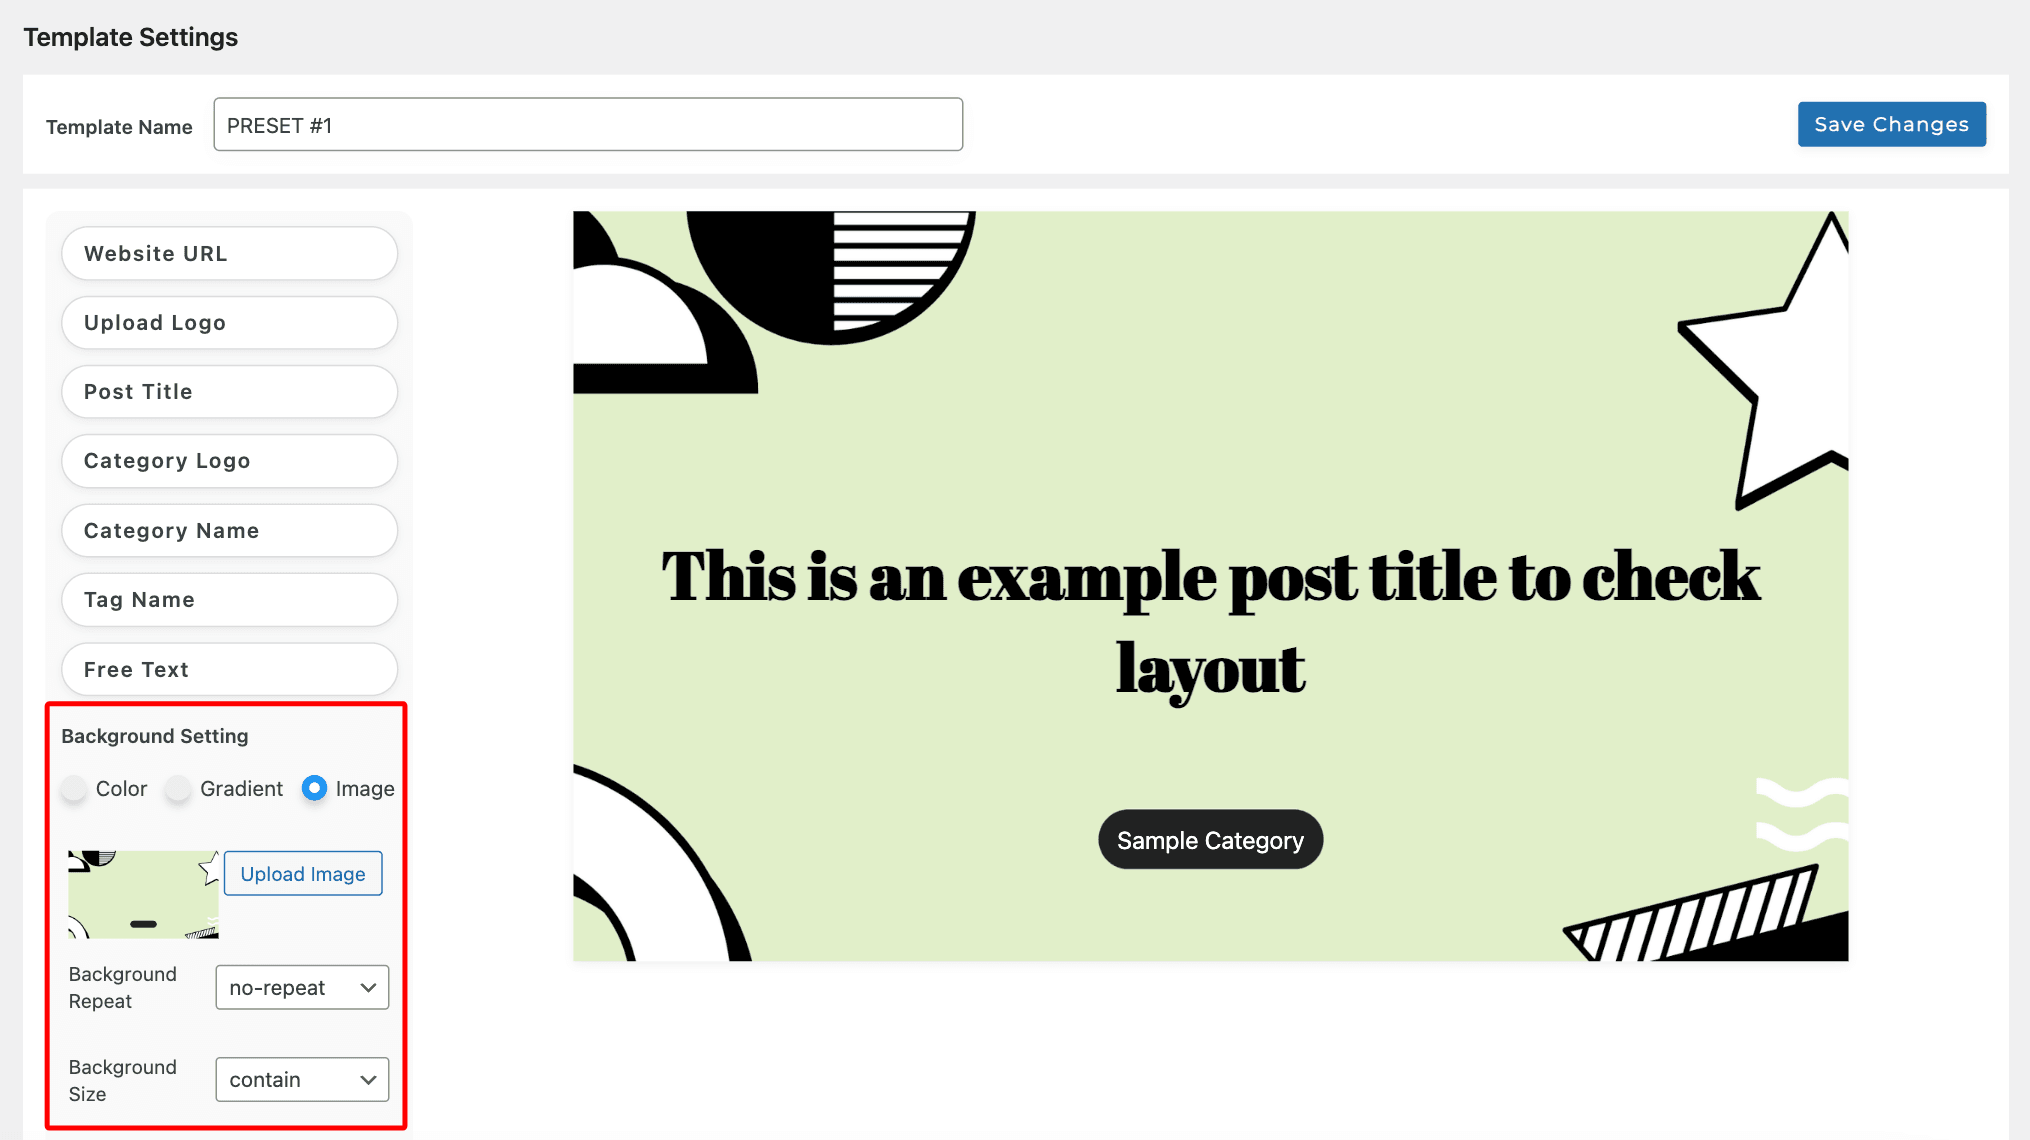
WPThumbify provides three options for setting the background of your thumbnails:
- Solid Color: Choose a single color from the color picker to fill the thumbnail background.
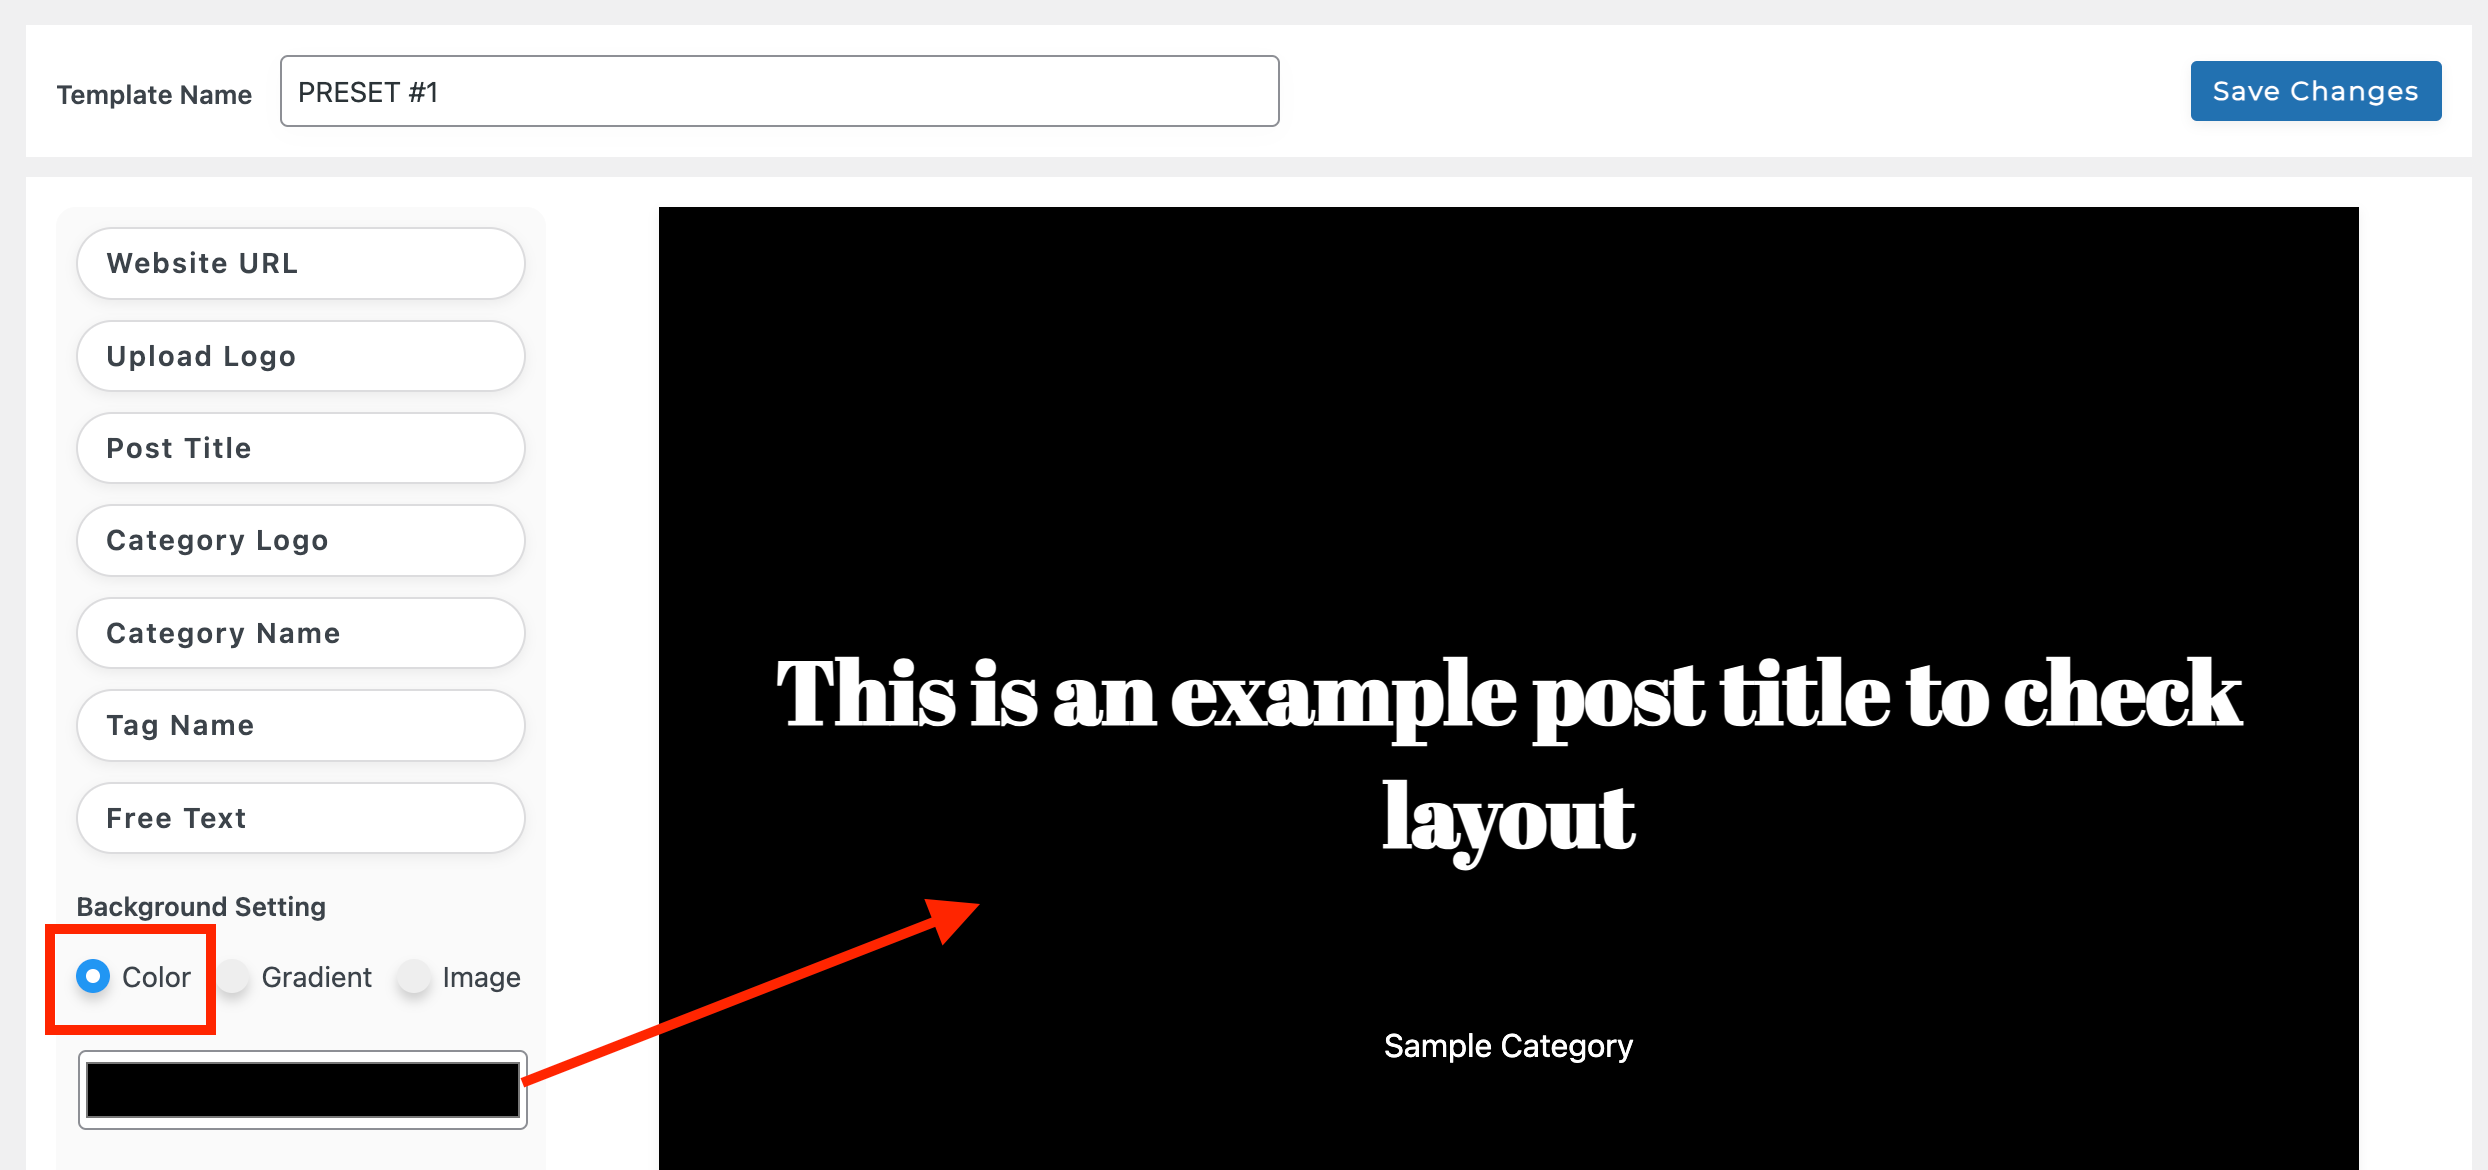
- Gradient: Create a gradient effect by selecting two colors from the color picker.
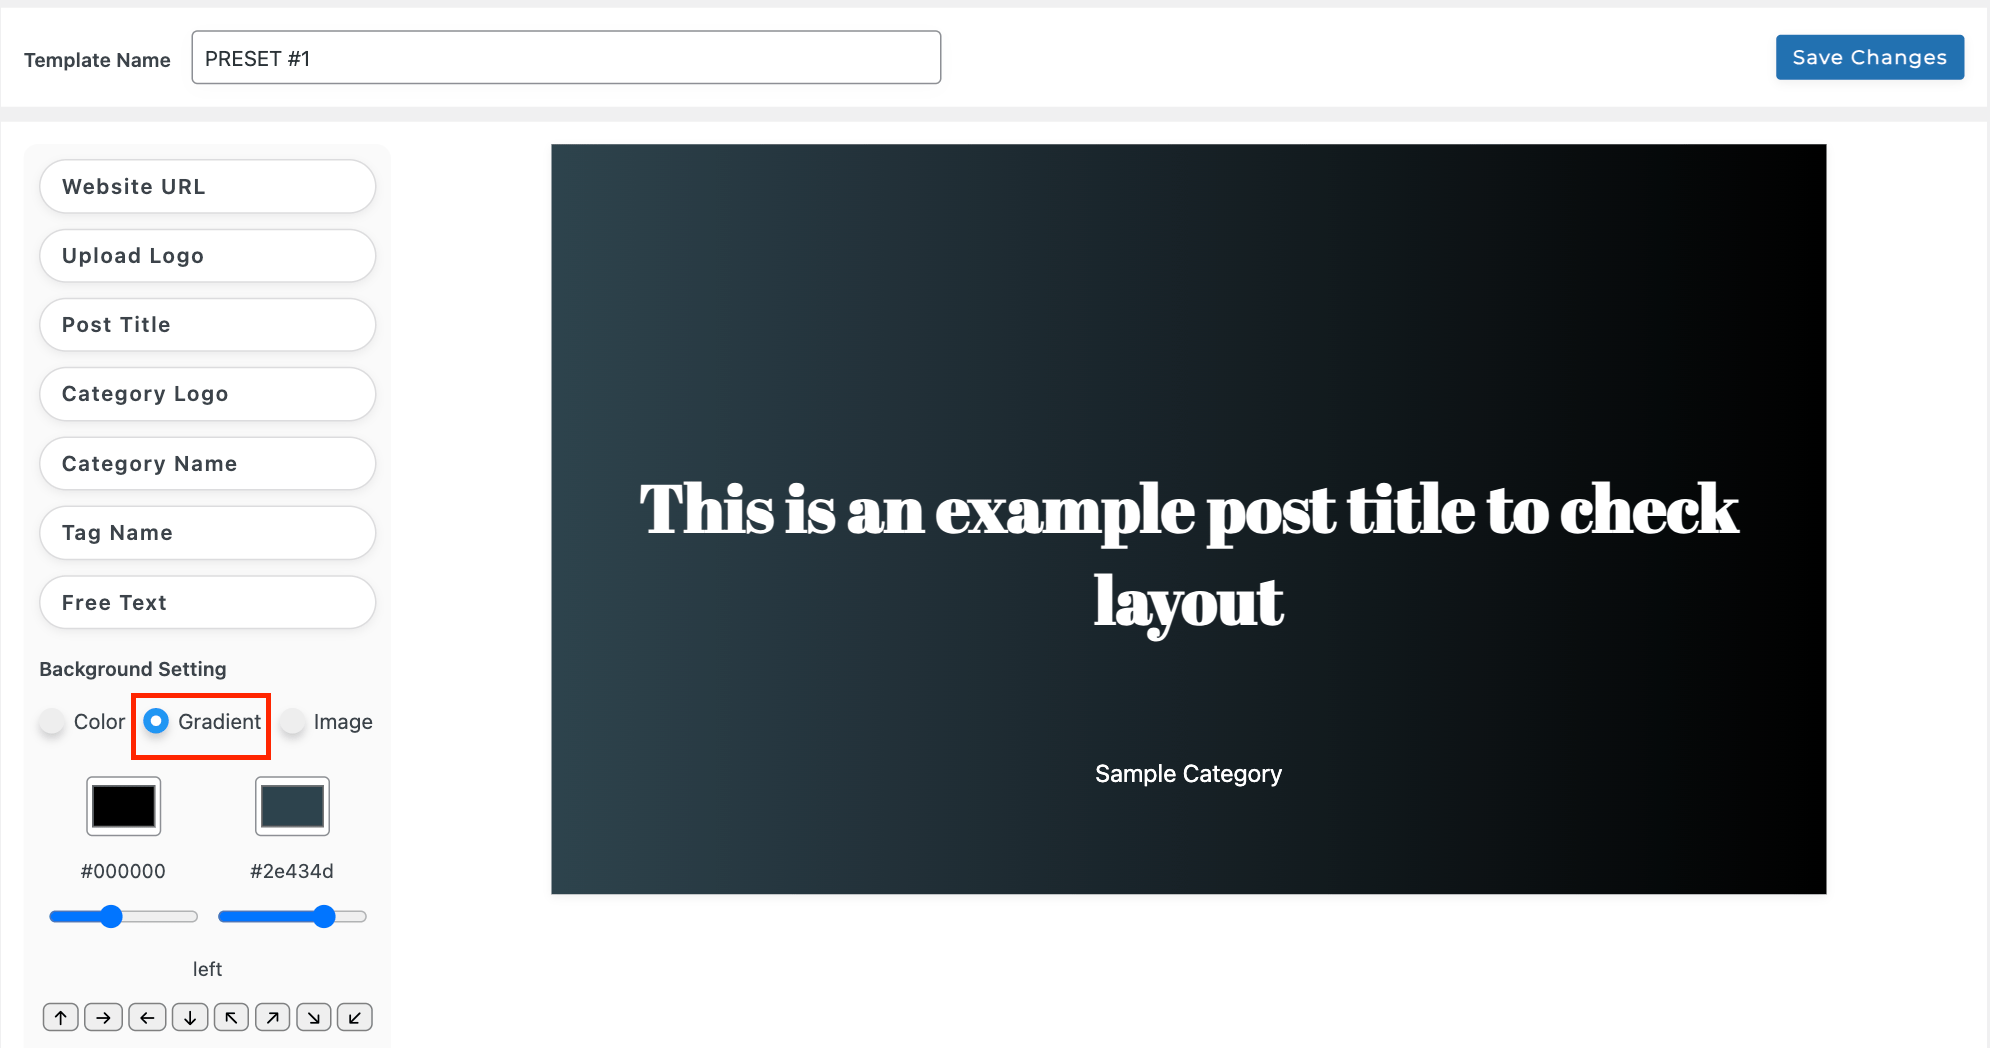
- Image: Use an image as the thumbnail background. For best results, use an image with dimensions of 1700 pixels by 1000 pixels.
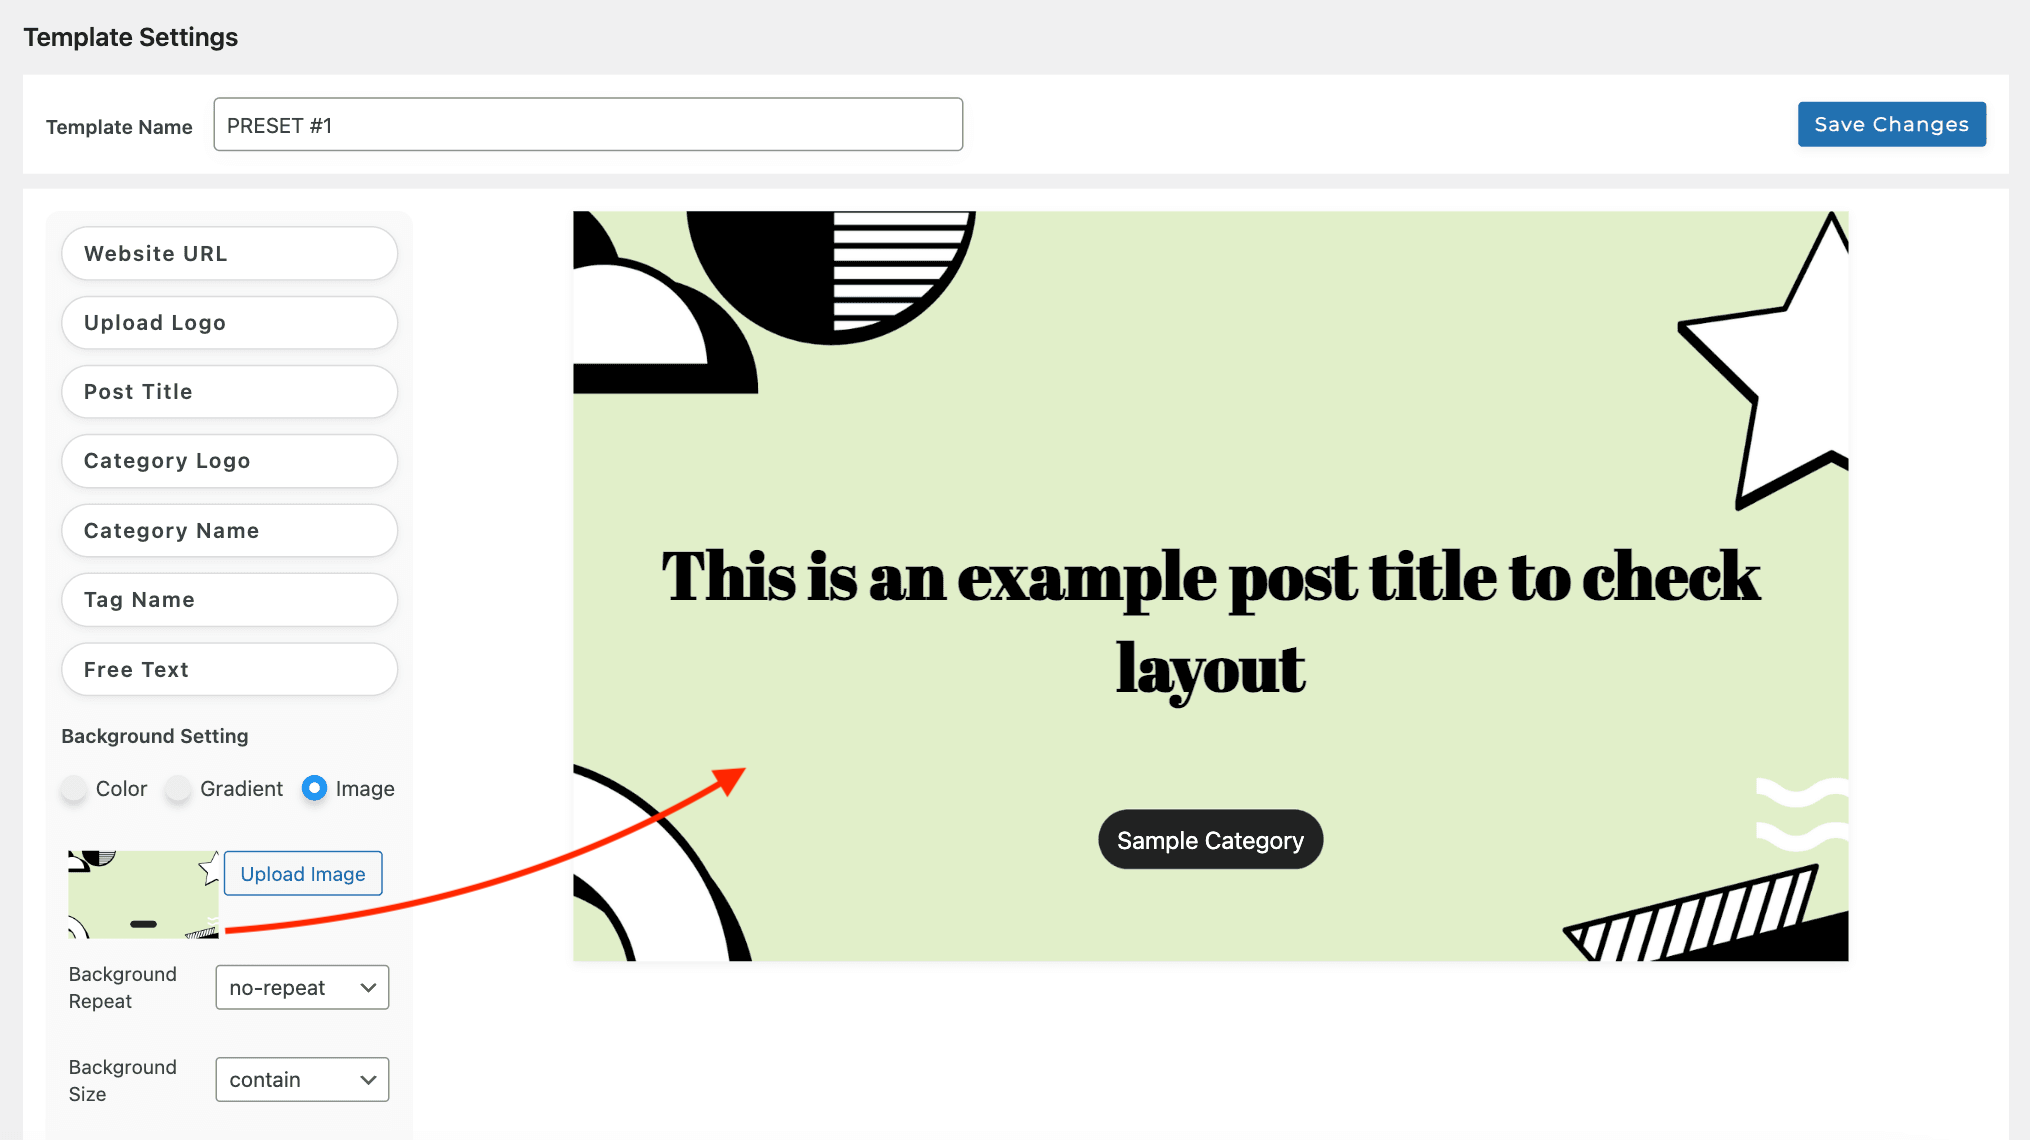
When selecting the Image option, you can further customize the background using the following settings:
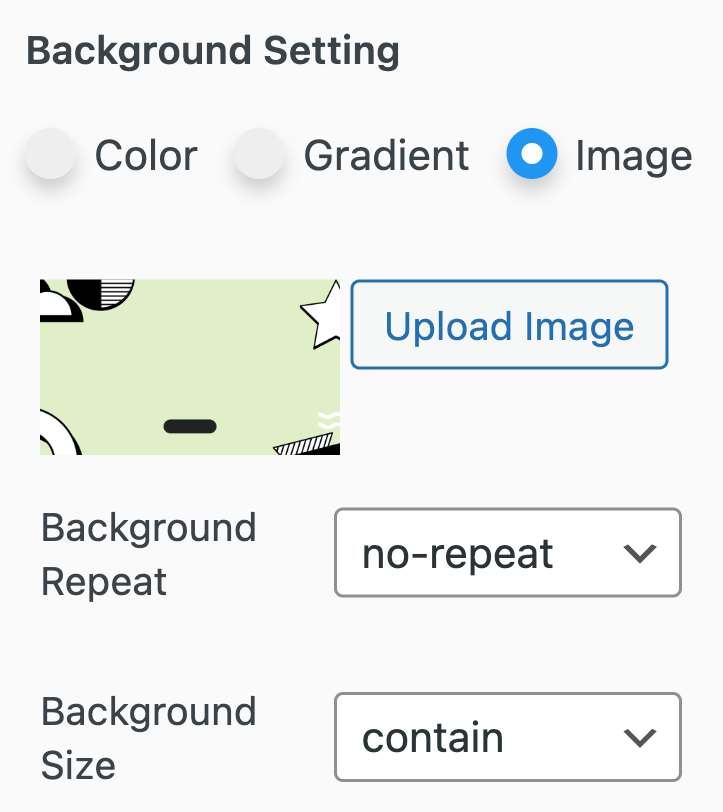
- Background Repeat: Choose how the background image should repeat (no-repeat, revert, round, space).
- Background Size: Specify the size of the background image (auto, contain, revert).
- Background Position: Set the position of the background image using the directional buttons (top, right, bottom, left, and diagonal directions).
Editing and Deleting Elements
To edit an element on your thumbnail template, simply hover over the element and click on the Edit button that appears. You can also double-click on an element to enter edit mode.
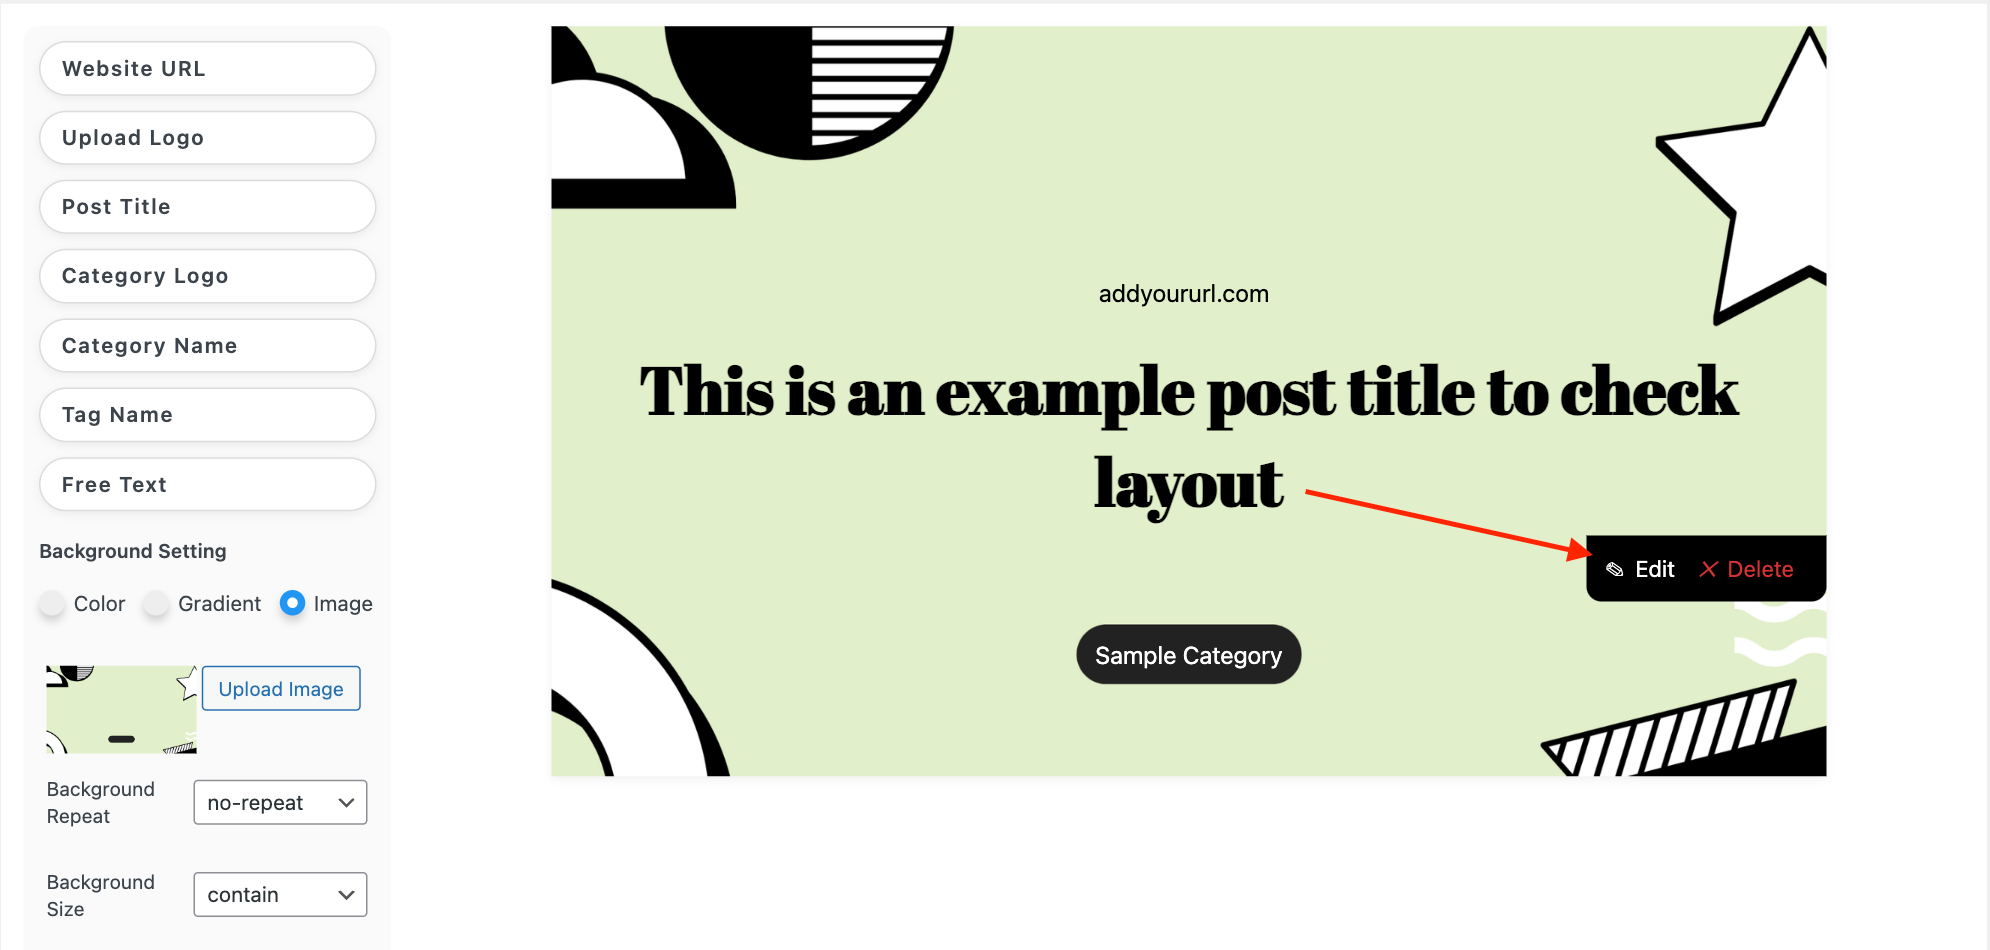
If you want to remove an element from your template, hover over the element and click on the Delete button.
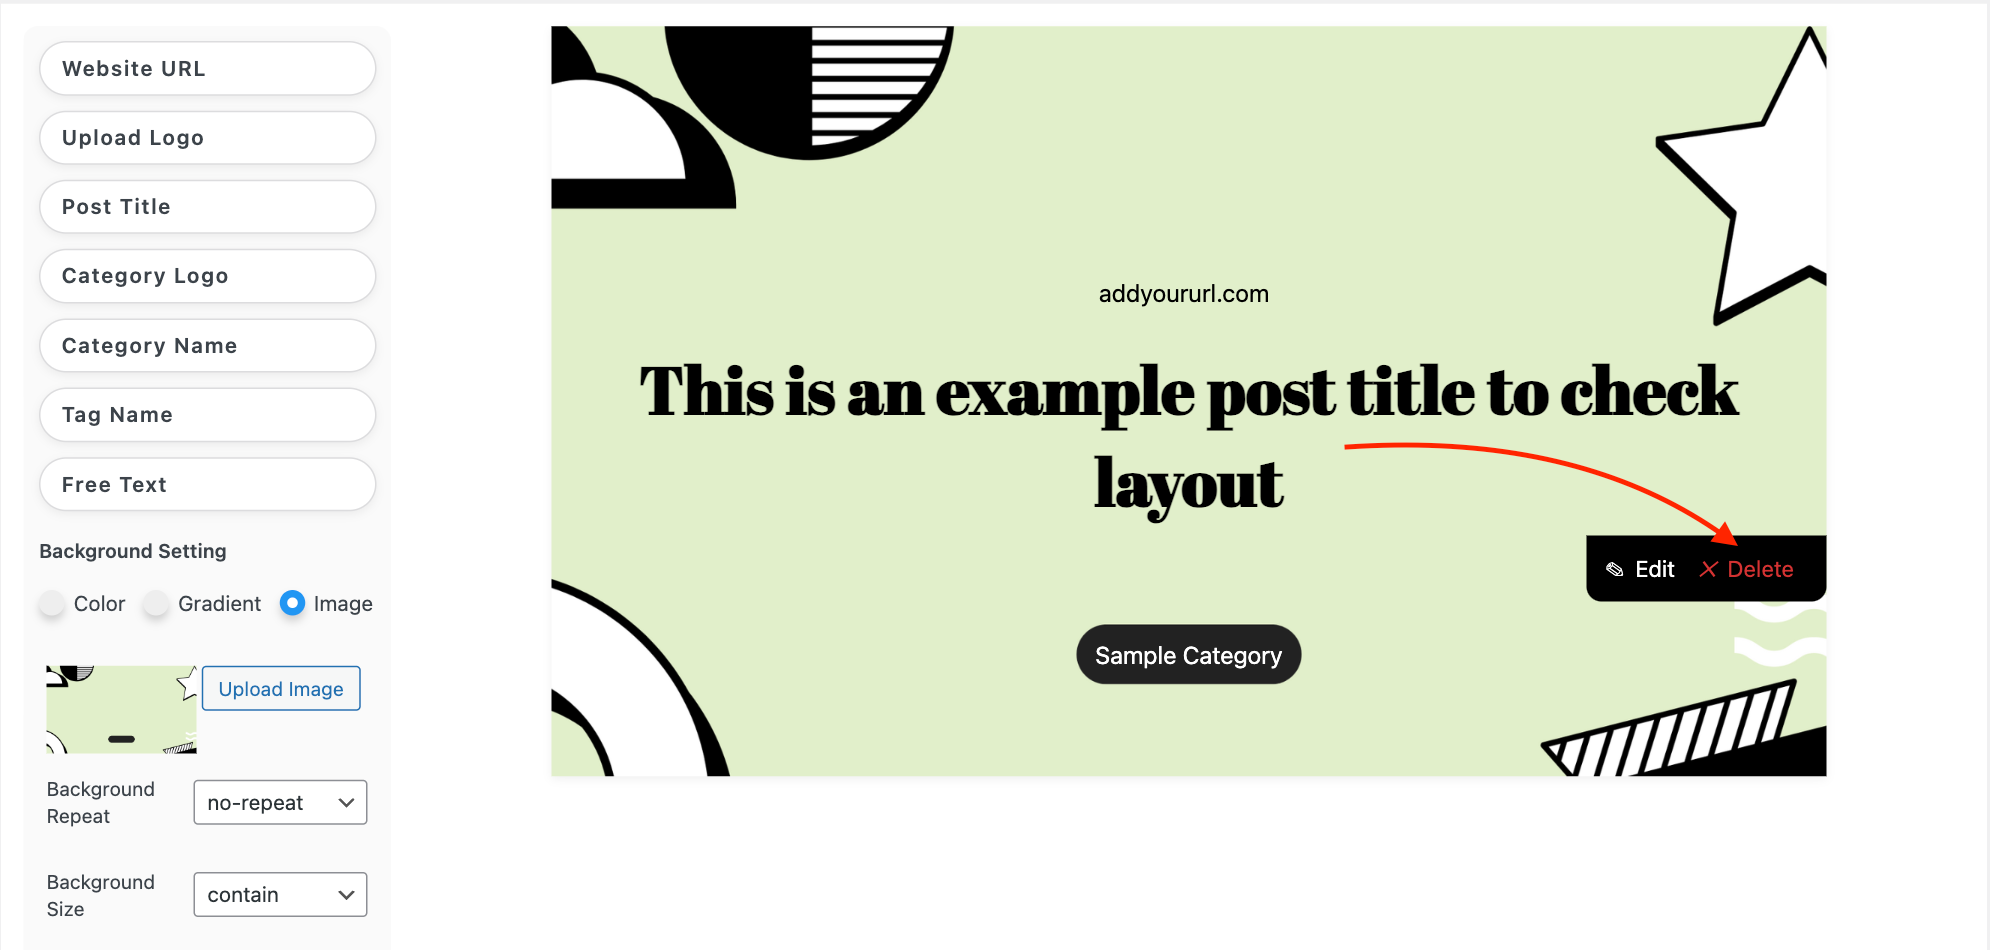
Note: When starting with thumbnail creation, choosing a light-colored background is recommended. This is because the default element colors are black, making it difficult to see the elements if the background is also dark.
Saving Your Template
Once you’re satisfied with your thumbnail design, don’t forget to click on the Save Changes button to store your template settings.
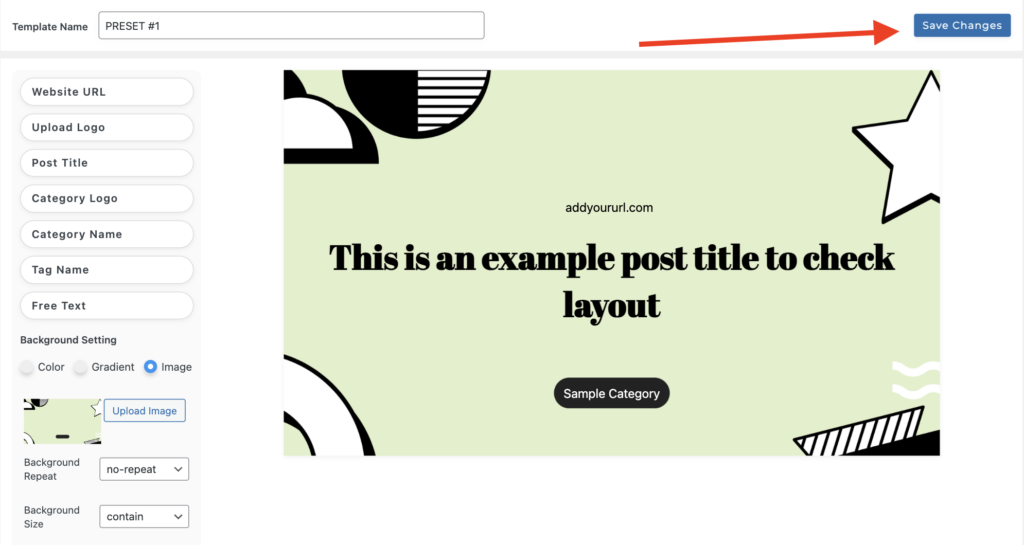
You can always come back and make further adjustments later if needed.
And that’s it! You’re now ready to create stunning thumbnails for your blog posts using WPThumbify.

